Over the last couple of days I've been having a bit of a spray fest getting the main colours on both models. The Bowman vehicle was the easy one to paint needing just a single colour which as usual is tamiya XF-65 field grey. This was then faded using tamiya XF-15 flat flesh added to the colour. Later I'll paint the black disruptive pattern by hand as they almost always have a hard edge to this.
The Clansman vehicle was a bit more involved. I started by spraying some of the bins flat black then masked these off. Next the main colour was sprayed on using a good coat of tamiya XF-78 wooden deck tan then faded by adding tamiya XF-57 buff & white. Next the green was sprayed on using field grey. This needs lots of patience as I didn't use any masks but instead sprayed the pattern freehand. I then faded this and went back over with the tan colour to tidy up the edges of the pattern. All the wheels got a coat of black then their respective colours.
It's all looking very bright and light at the moment but once the gloss varnish goes on it will darken down a lot.
With the continuing breaking strain of a wet kit-kat I've crumbled and added yet another kit to the stash. Yeap it's another cracker from Takom and yet another french vehicle.
A look in the box reveals a very well detailed kit which will certainly see the bench in short order.
Also in an effort to try and build my stash before I snuff it or go senile here's the latest kit to hit the bench, Tiger models Panhard VBL. It's a great little kit packed with detail in a small package. just the job and a nice change of pace having wheels instead of tracks.
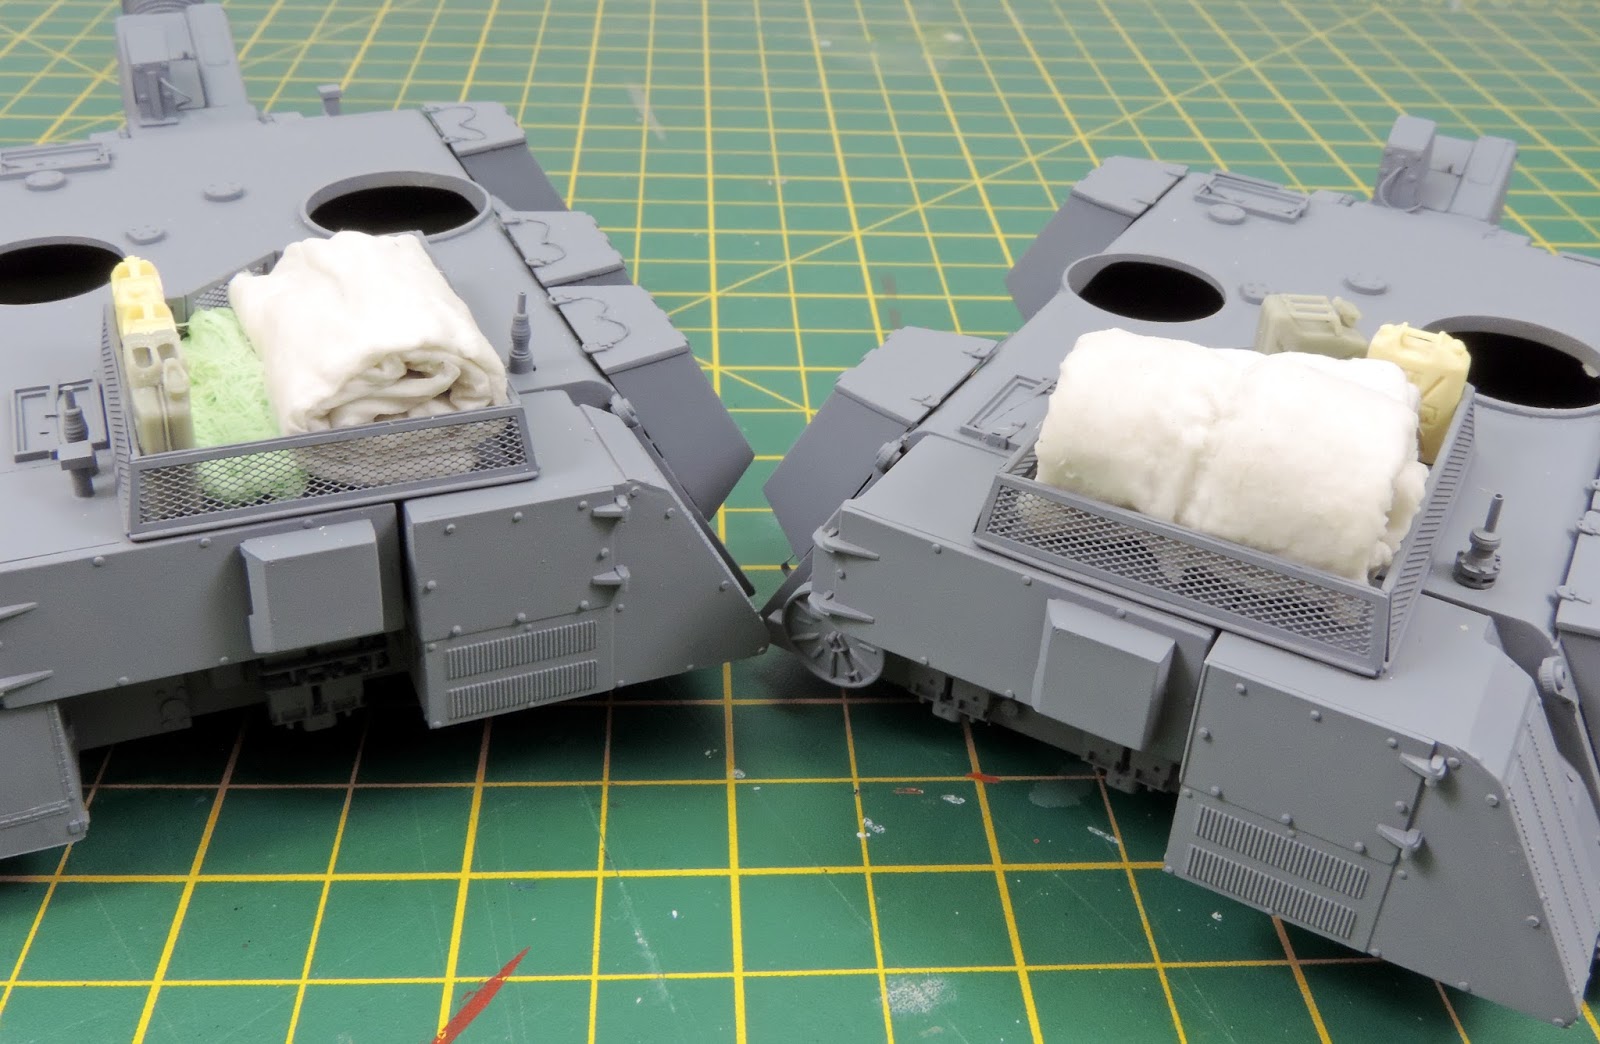
It's been a few days since the models had their primer coat so today I've worked on adding some stowage to the turret roof bins. I used good old tissue and a water & wood glue mix to soak the tissue then rolled each one to shape. I've also added a bit of bandage to one of the bins. Later on during the build I'll add more camo netting and some strapping.The fuel and water cans are accurate armour items.
Well I've now finished off the base after adding some initial pigments then placing all the rubbish onto the base. It's quite difficult to get a random look to this and some thought needs to be put into each item and it's placement. All the large items had a weathering with pigments before fixing to the base. Once all the smaller items had been glued they too had a light dusting of pigments to tie them in with the base.
Small pieces of paper were then soaked in white glue & water then added to the base. I think the final result gives a good interpretation of the war torn middle east and it also sets off the Chieftain perfectly. I'll definitely be having a go at more rubbish themed bases in the future as I have a few models that would work well with this kind of base.
Here's all the rubbish elements all ready for the base. I made up a few cartons and boxes as well as some cigarette packets using some dio art stuff & stuff I've printed out at home. Crisp packets are painted foil too. The base has also had a coat of tamiya buff and the fence has been attacked with various rust colours and a sponge. the next step will be to add some pigments then start adding the rubbish.
I've been having great fun painting up the rubbish for the base over the last couple of days. Most of it is now painted with just a couple more bottles and the food cans to finish off. Eventually I'll also be adding some cartons and packets to the base which I've printed off and some other bits i have in my dio stash.
So far I'm pleased with the results especially when viewed from a normal distance & not these super close up pictures.
This afternoon has been a bit of a spraying marathon what with double of everything to prime. However no dramas or issues the primer went down well and has made all the details really pop. I'll give the models 24 hours to allow the primer to cure fully before starting the camo work.
Whilst I had the airbrush going the fence for the Chieftain base got a blast of a suitable rusty tone. I'll attack the fence later with more rust tones using some sponges to get lots of random colour variations. The base has also had the sand sealed using AK sand & gravel fixer.
Here's a base I'm working on for the Takom chieftain Mk5 I recently built for Tamiya model magazine. as there was no remit for a base and as I always like to finish my models off with a base I wanted to get this done and ready for the next show. For this base my idea was a rubbish strewn street with a chain link fence behind the model with more rubbish stacked behind it.
I've used a Dio dump fence and then raided my storage for suitable items. Some food and drinks cans have also been made using plastic rod and card as well as the ever present lost sandal! Some of the plastic bottles have been crushed and distorted to add to the look of the final base. Lots more rubbish will be added later.
Today I've finished off my model which depicts an earlier vehicle fitted with clansman radio. On this one I've left off all the tools and replaced them with spare etch and card for all the mounting points. This is actually a very common practice in the British army, just check out a few pictures on the net.
I've also left off the GPMG from both models as they are way out of scale and the mounts are pretty awful too. But again this has worked in my favour because they are not that often mounted on the real thing. So next will be a very careful wash of both models before primer.