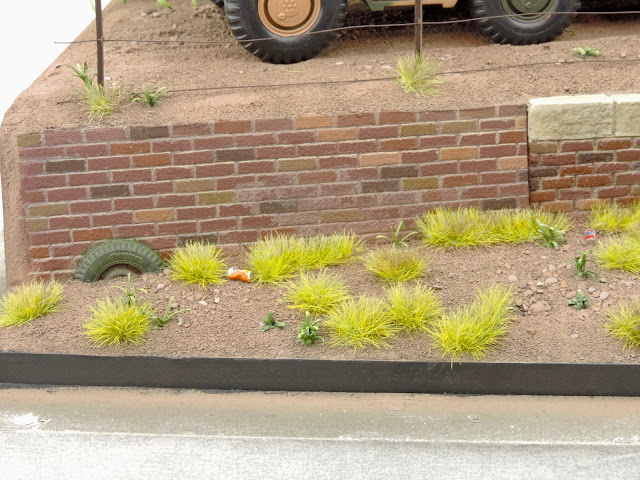
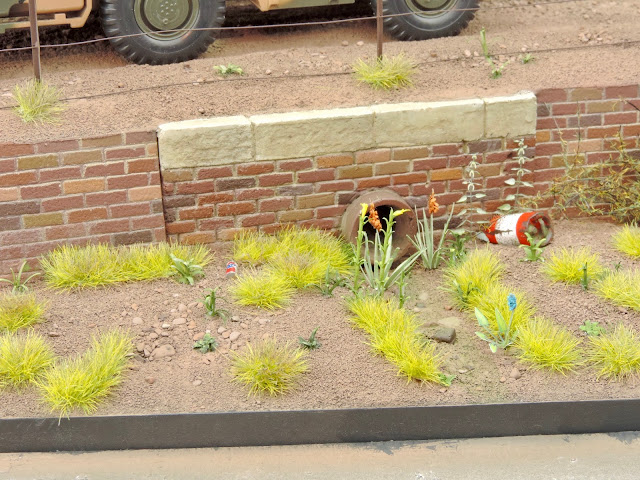
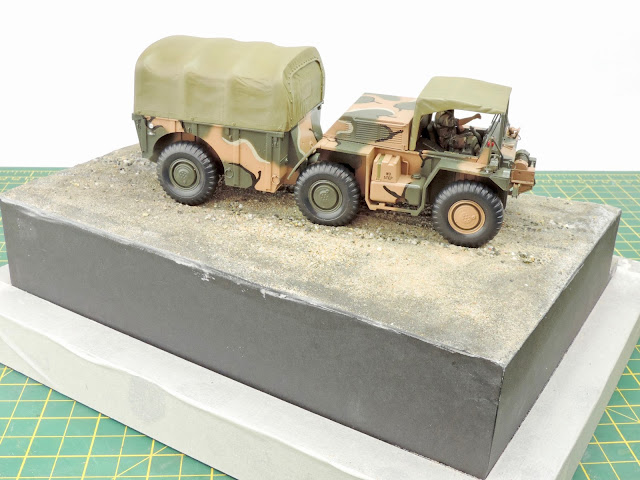
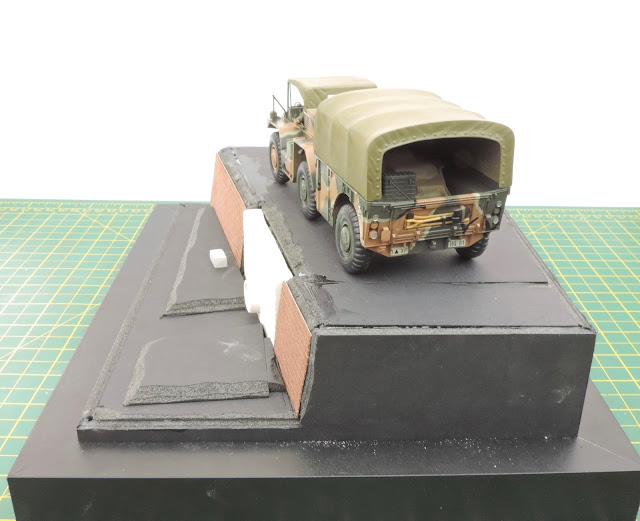
Finally finished off the base now and can try and get the goat completed by next Saturday for the Salisbury show, (highly unlikely) but I'll give it a go. Very pleased with the base as it's very much out of my comfort zone and experience.
Monday 29 May 2017
Monday 22 May 2017
Gama Goat Vegetation 2
I've now finished painting the plants on the base and have also added a few around the fence posts. Various custom greens were used mixed from vallejo colours to get a varied look to the vegetation. I've also started adding some moss and algae effects, most notably the tyre and the oil barrel. More will be added along the walls and waterway using oils next.
More corn stalks are due to arrive this week so I can then finish off the field and matt varnish the base. I'm tempted on this one to not use any pigments at all as I like the finish so much. I'll try the same on the goat and see how that turns out using instead thin washes of tamiya and vallejo colours to get the dusty look I'm after.
That's also it for a few days as I'm off to France in the morning for a trip to the Somme which I'm really looking forward too.
Saturday 20 May 2017
Gama Goat Basework (Vegetation)
I've now started work on the vegetation for the base and here I've used stuff from lots of different sources. The corn stalks are O scale railway products which work really well for 1/35th. More stalks are need to finish off the edge of the field but you can see the general effect so far. The beauty of these is that they don't really need any painting except perhaps a little dusting of earth around the base of the plants.
The lower area has had loads of grass tufts added, a few plants again intended for railways and a small bramble bush and stinging nettles. They are actually etched items. I then began carving various plants and weeds using stretched spune and a fresh scalpel blade. A lot of plants are concentrated around the culvert and some time was taken to get a random look to their placement.
Finally I've re-painted the oil can and then made up a rusty tin and circa 1980's Fanta & Pepsi cans. These all add a little bit of interest and different colour to the finished base. I've now got to paint all the plants & tufts then start adding a few small weeds and grass along the fence line.
Thursday 18 May 2017
Gama Goat Basework 3
Today's progress now and I started by making up some fence posts using scrap etch from the spares box. I drilled holes for the wire then bent the posts to shape. They were then fixed to the base using epoxy glue for a firm bond and the wire was then fixed in place using fine gauge wire. I did try to add a length of barbed wire to the top run but just could not get the tension correct.
After that the culvert pipe was hollowed out and the base given a coat of primer. Once that had dried I sprayed tamiya XF52 flat earth over the base then picked out the brickwork with tamiya XF9 hull red. I then started painting the fence and selected bricks and stones in various vallejo tones. Finally the pointing between the bricks was picked out using heavily thinned vallejo german beige.
Not a bad bit of progress today I feel!
Wednesday 17 May 2017
Gama Goat Basework 2
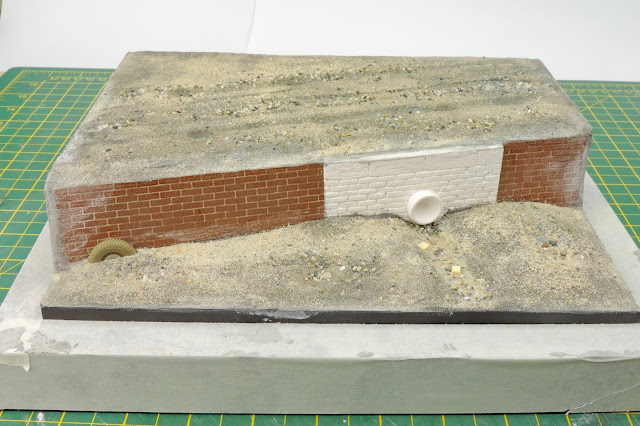
More work on the base and this time I have added the groundwork using filler then added various grades of sand, grit and small pebbles. Once dry some sand and gravel fixer was added liberally to the base to ensure none of the surface texture was lost. I will now clean up the sides of the base and then give it a spray with primer.
With the model in place it's looking quite good although there is still loads to do on this. I was hoping to have this all finished before the Salisbury show in a couple of weeks time but realistically can't see that happening. I may just have to take it as a WIP instead.
With the model in place it's looking quite good although there is still loads to do on this. I was hoping to have this all finished before the Salisbury show in a couple of weeks time but realistically can't see that happening. I may just have to take it as a WIP instead.
Saturday 13 May 2017
Gama Goat Basework
It's again been a struggle to get any bench time this month, far too much going on socially and domestically plus the mojo has taken a bit of a bashing. Mostly due to me over thinking things, you know what I mean. Anyway I've finally got round to starting the base, as this is an important step in the builds progress I wanted to get this sorted before weathering the goat.
My idea is an elevated base with an agricultural look to it. I came up with the idea of a drainage ditch so started with the plaster culvert and went from there. Foam board was used for the base as it's very easy to cut and glue. I also added some tamiya diorama brick sheeting for the retaining wall. I'm planning on adding some corn stalks in the left hand far corner and a barbed wire fence along the front of the raised section. This should hopefully give it that agricultural look. Lots still to do but at least I'm at the bench!
My idea is an elevated base with an agricultural look to it. I came up with the idea of a drainage ditch so started with the plaster culvert and went from there. Foam board was used for the base as it's very easy to cut and glue. I also added some tamiya diorama brick sheeting for the retaining wall. I'm planning on adding some corn stalks in the left hand far corner and a barbed wire fence along the front of the raised section. This should hopefully give it that agricultural look. Lots still to do but at least I'm at the bench!
Monday 1 May 2017
Gama Goat Driver
Today I've been painting up the driver figure for the goat. I used various vallejo colours and lots of refs to try and get the look of the US woodland pattern. I think it's pretty much there with just the flesh areas and a light bit of dry brushing left to do. The cargo has also been sprayed up with a khaki shade.
Subscribe to:
Posts (Atom)


