Saturday 31 October 2020

Rolls Royce Progress & More Stash Additions

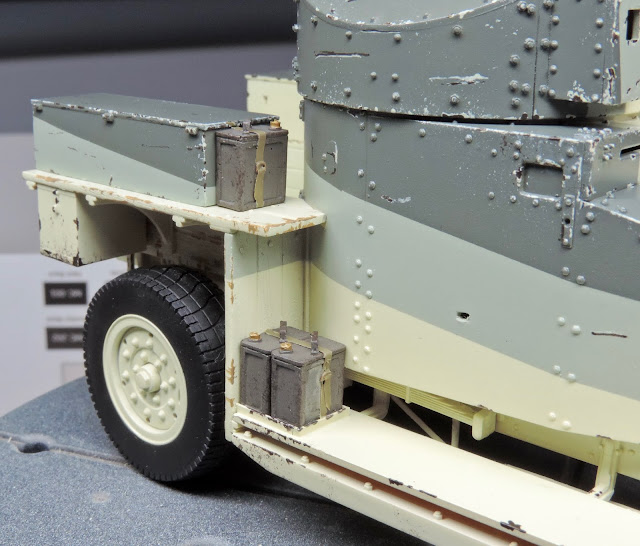
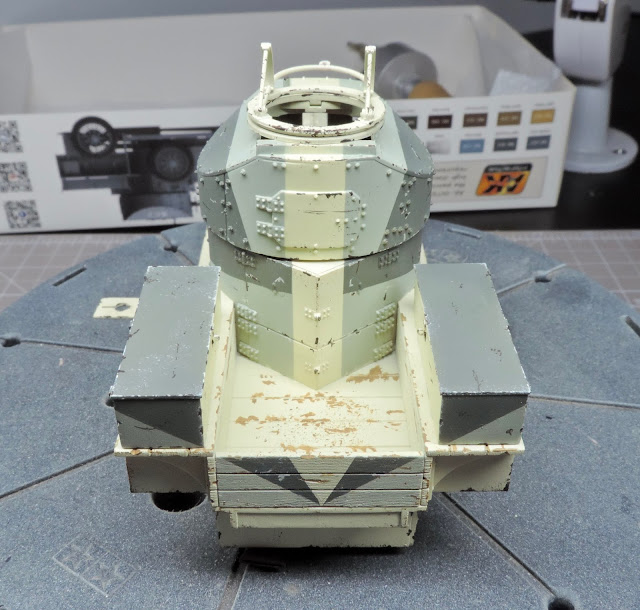
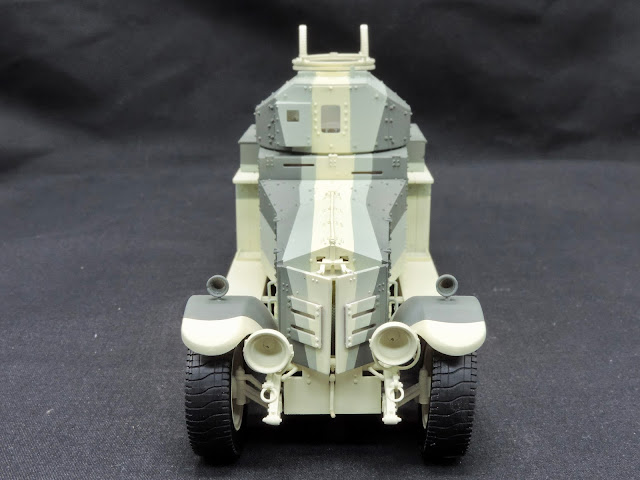
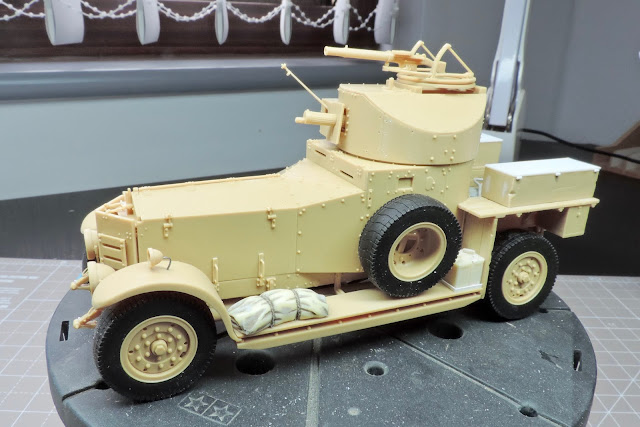
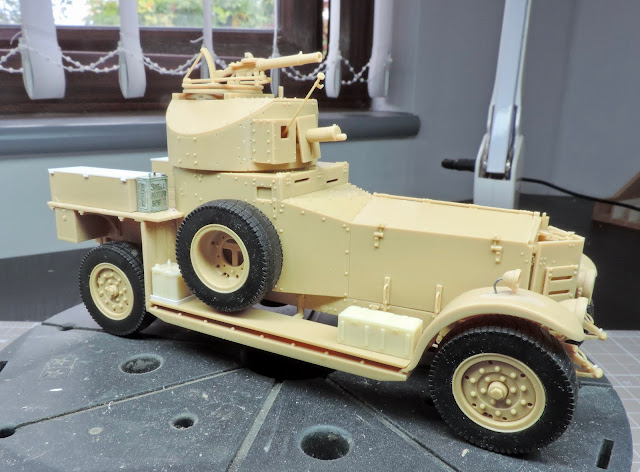
The weathering has progressed well with some grime and staining added to the lower portions and chassis followed by a light dust wash before matt varnish. As usual I used VMS varnish and also sprayed the rubber tyres which helps knock down any residual shine from them. This also gives a nice key for pigments and further weathering too.

I'll now let the varnish fully cure for a couple of days which gives me some time to start work on a base for the model and have a rummage through the stash for my next project!  


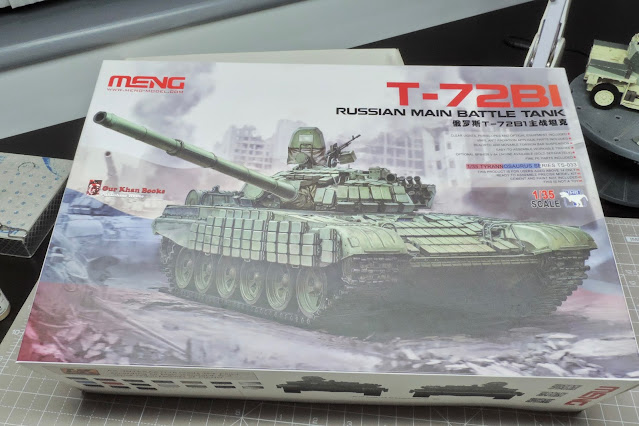
Talking of stashes I've also added yet again to mine in the form of a very nice T 72 from Meng as well as a naked metal barrel and some crew figures. I've been toying with the idea of building a Syrian conflict diorama so thought that the kit would be perfect for the setting I have in mind. Suitably beaten up with those figures added and a nice urban base with plenty of destruction in evidence should scratch that itch of an idea for me.


Monday 26 October 2020

RR Weathering Begins

 I've now started the weathering on the model beginning with an initial wash using heavily thinned MIG neutral wash followed by a pin wash using raw umber and black oil paints. This has really popped all the bolts and rivets as well as the wood grain on the rear section. I'll add a little bit more using straight oils to the chassis and lower bodywork to suggest some grime build up then make up some dust washes.  


Sunday 25 October 2020

Rolls Royce Figure Done

 Here's the figure all finished after a blast of matt varnish this morning. I can now get back to weathering the armoured car.


Saturday 24 October 2020

Figure Work

I'm now concentrating on the figure for the Rolls Royce and have now painted the uniform using vallejo 340 highlight afrika korps as a base followed by shadows and highlights using 984 flat brown, 819 Iraqi sand & 951 white. The flesh areas have been blocked in using a mix of 341 flesh base & 845 sunny skin tone. 


Thursday 22 October 2020

Roller Fuel Cans & Gloss Coat

 The model has now had a quick gloss coat and the fuel cans have been painted & fitted. This was followed by some tape straps and fine wire buckles added to finish them off. 


Tuesday 20 October 2020

Meng Rolls Royce Ready For Gloss Coat

I've now finished off the chipping on the model and have also used vallejo 310 old wood to add some paint peeling to the wooden rear areas. The balance between the sand chips & rust chips looks about right so next I'll get a gloss coat on in preparation for washes & filters. 


Saturday 17 October 2020

More Chipping...

 The turret has now also been chipped with the sand colour & a start has been made on adding some darker chipping. For this I'm using vallejo 822 German camo black brown. I'll try not to add too many of the darker colour but sometimes I do get carried away when adding chips!


Thursday 15 October 2020

Meng Roller Chipping Time

 It's now time to start adding some chipping to the model. For this I've mixed up some vallejo paints to match the portland stone colour I mixed from tamiya paints. A fine brush & piece of sponge are the weapons of choice here and later I'll add a dark black brown to show some rust and add a bit of depth to some of the light chips.


Wednesday 14 October 2020

Armoured Car Paintwork

 After much masking, painting and waiting for it to dry the paintwork is now finished on the model bar a few little touch ups. Very happy with the tones of each colour, some oil fading & dust washes later will work a treat to lighten the tones slightly. The figure also works very well with the model & I've made a start painting him. 


Sunday 11 October 2020

Armoured Car Paintwork Begins

After a blast of primer I've started the paintwork on the model but immediately hit a bit of a snag. After spraying the first colour I masked up in preparation for the second colour and found that the paint lifted off with the masking tape! Bloody annoying so I had to strip the model back to bare plastic & start again. Luckily VMS clean slate easily stripped the paint off very quickly. 

So this time around I added a few drops of tamiya clear to the paint in the hope this time it doesn't lift once masked. I'm using the Starmer mix for the caunter scheme & the first colour of Portland stone is made up from 6 parts XF2, 1 part XF3 & 1 part XF57. The figure for the model has also arrived and here I spent a fair bit of time cleaning up seams and pin holes. However I think it will work well with the model on a nice base.


Thursday 8 October 2020

The Roller's Turret

 The masterclub bolts arrived yesterday which meant I could get the build finished with the simple application of them to the turret. It looks loads better now & the model should be in primer by the end of the day.


Tuesday 6 October 2020

Meng Armoured Car Nearly Done!

 Well that's the model essentially finished apart from adding the bolts to the turret. The brackets for the front headlights were quite fiddly to clean up due to the delicate nature of the parts and I did manage to break both parts but luckily glued them back together. Some lead wire for cables finished these and the fender lights off nicely.

A quick delve into the spares box sorted out some stowage in the form of flimsy cans and a couple of german jerry cans as well. Some plastic strip then made up some racks for the flimsy cans on the running boards and that's about it. I've also found a nice figure to go with the model which should be here soon.


Monday 5 October 2020

Armoured Car Rapid Progress

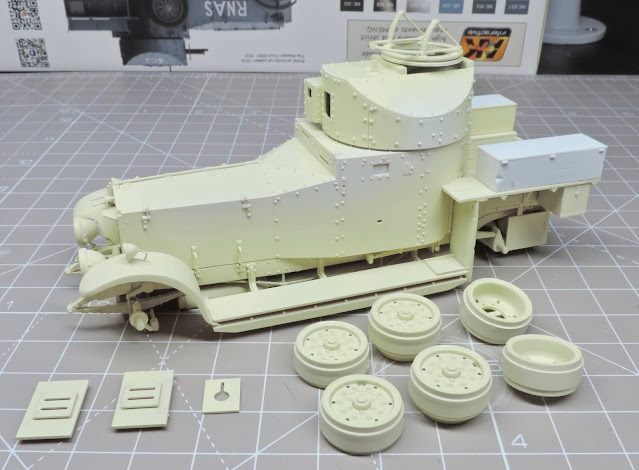
 Very swift progress on the model yesterday with the main body and associated parts all done. In the end leaving it in sub assemblies proved to be a non starter due to the way the running boards and front fenders are fitted so I fixed it all in place so it all lined up correctly. 

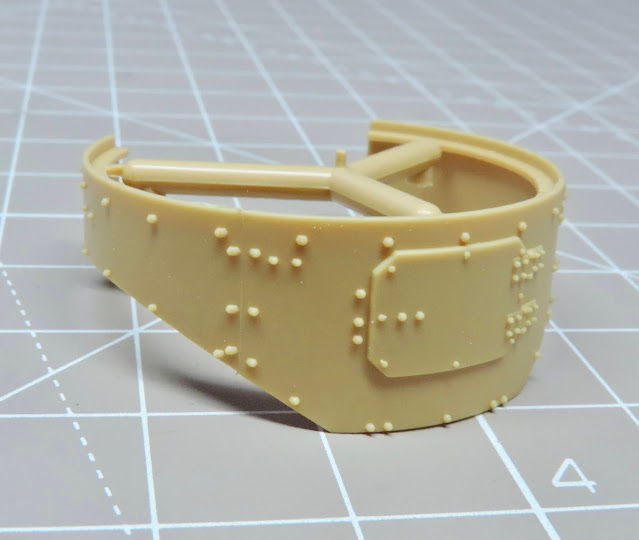
Spent a fair amount of time adding woodgrain to the rear sections and improving the two stowage boxes. These on the sprue have some bad casting blemishes so I sanded them back and then added new lids and hinges etc with plastic card. Finally I've had a look at the turret and found some bolts that need replacing next to the amour plate joint lines. An easy fix which I'll tackle once some new masterclub bolts arrive.