Well it must be Christmas because Rye Field have just announced that they will be releasing a brand new Challenger 2 kit sometime next year! The subject will be the TES version which is excellent news! Looking at the sprue shot below you can see that normal side skirts are also included which is great if you want to make a really up to date "normal" chally 2 as well.
For a TES version it's all there including the remote weapons station on the loaders hatch side. It is missing the barracuda thermal sheets seen on these tanks in Iraq but that should be very easy to add if you so wish. I'll use the same method as I did on the Bulldog build. Obviously for an Iraq version the side armour is different but that could be sourced from the tamiya chally 2 or perhaps the trumpeter version. As ever it will be a case of checking your particular interest and time frame and adapting the model to suit, or just building out of the box.
Here's the Iraq version,
With this version coming out next year AND the hobbyboss Coyote & Jackal hopefully arriving as well it looks to be a bit of a Brit feast for me next year!.
Well Christmas is a only a week away now so it's time to look back on my first full year since retirement. It's certainly been a busy one both at the bench and around the house. I've managed to complete 15 models this year and am really enjoying my modelling which is something I'm very pleased about. Stonehenge modellers has also had a brilliant year attending our usual shows which finished off in fine style as always with the IPMS Belgium show in October.
We have completed more improvements around the house and I've given the man cave a much needed makeover which has probably helped with my build rate as it's now a much more efficient space and more comfortable too. So it's been a pretty good year for me and I've really enjoyed the sense of freedom I now have to be able to do anything I want without the need to worry about work or paying a mortgage. It's very liberating at least to me.
So thanks to all who followed the blog this year I hope you have enjoyed it as much as I have and perhaps have been inspired or learnt something to help you with your modelling endeavours. Hopefully more of the same will follow next year, happy Christmas to you all.
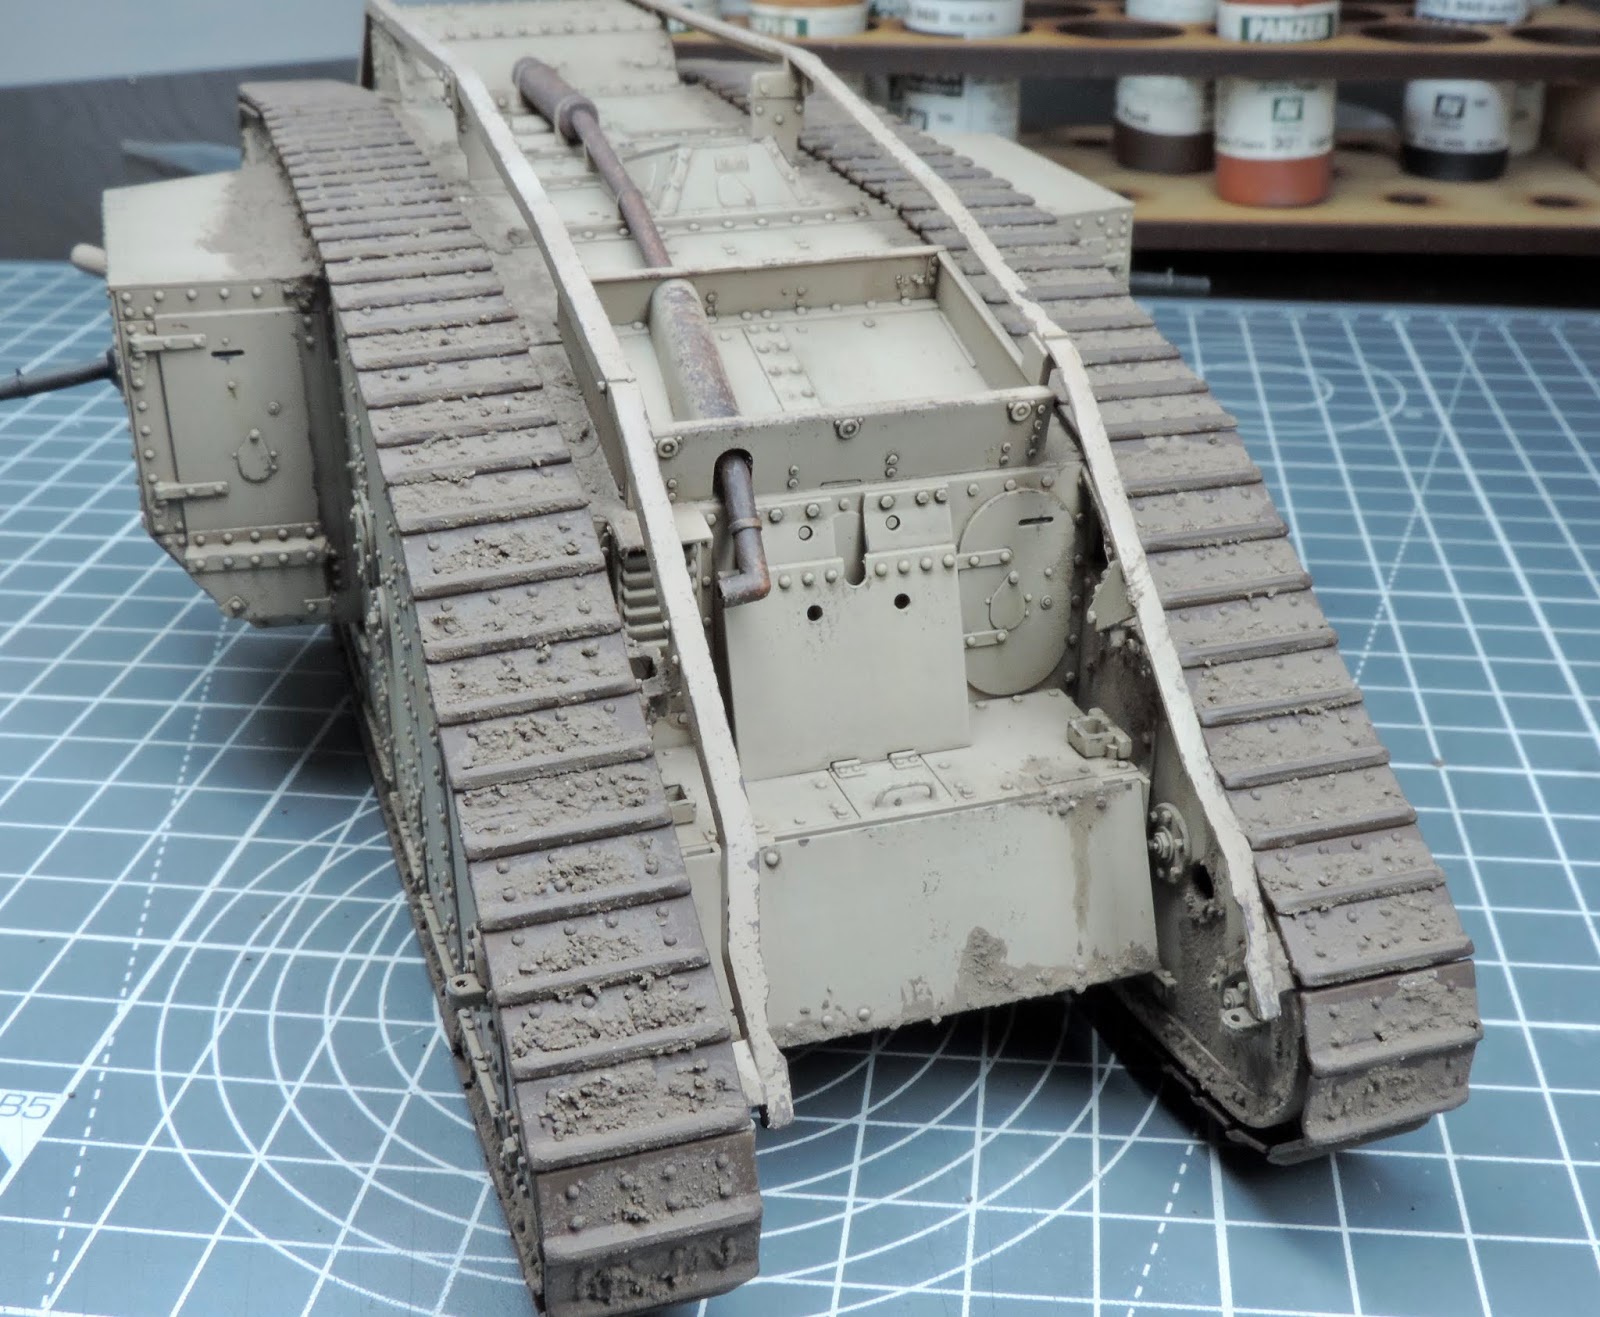
I've now finished adding the mud to the model and finished off by thinning some with water to add some runs down the sides of the hull. The tracks have also gone on now so pigments should be next in line. As you can see the texture of the mud is very realistic.
It's now time to add some mud to the model and I'm starting off by using some Wilder dark brown textured earth. This stuff is so easy to apply with an old brush and you can clean it up or remove it completely with water. It's the perfect effect for the tracks I think. Later I'll finish off with pigments for a bit more texture and colour variation.
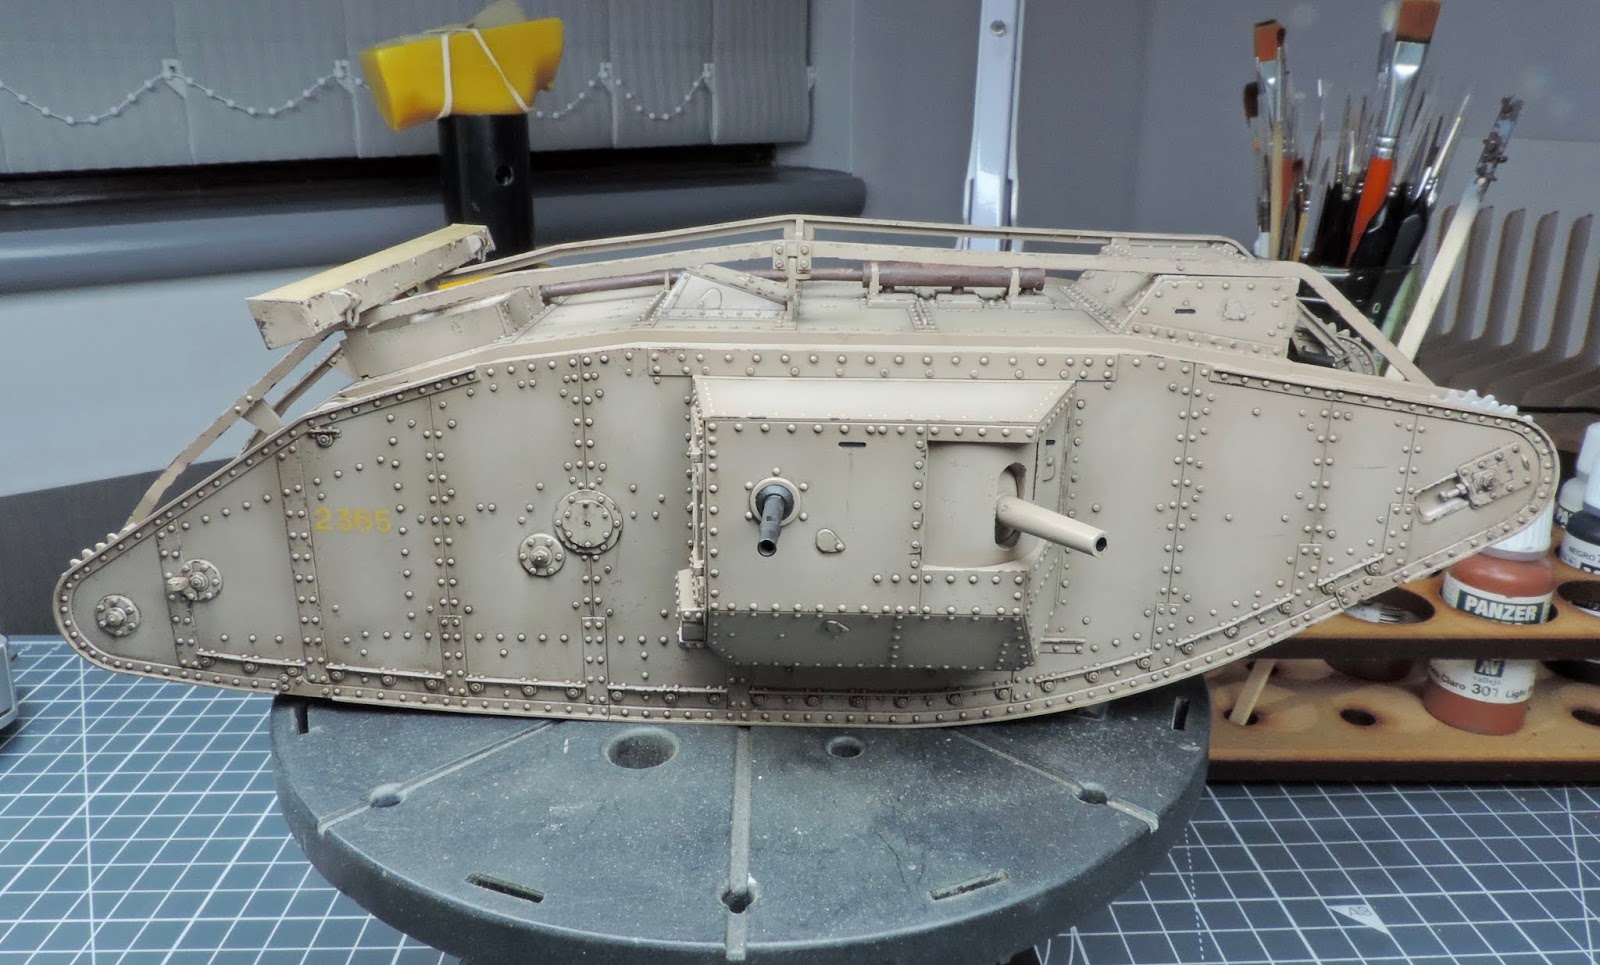
Before I sprayed the matt varnish on I gave the model a light dry brushing after my old mate Soapy suggested it. It's the perfect way to set off all those rivets and only takes a short time to do. The figures have also had some matt sprayed on.
I've also been experimenting with the weathering pencils and so far I'm not that sure they will be of any benefit to me. Whilst they work well the results are quite hard to see and seem to take longer than my usual methods. I'll keep going with them on other builds and perhaps I'll find a use for them at some point.
The model has now had a couple of filters added followed by some pin washes. Next will be a matt varnish before further weathering using the weathering pencils I bought a while ago.
Not much progress this week what with the build up to xmas and breaking my only pair of glasses! However I've added a bit of chipping to the model although not much and just have the exhaust to finish off before washes & filters.
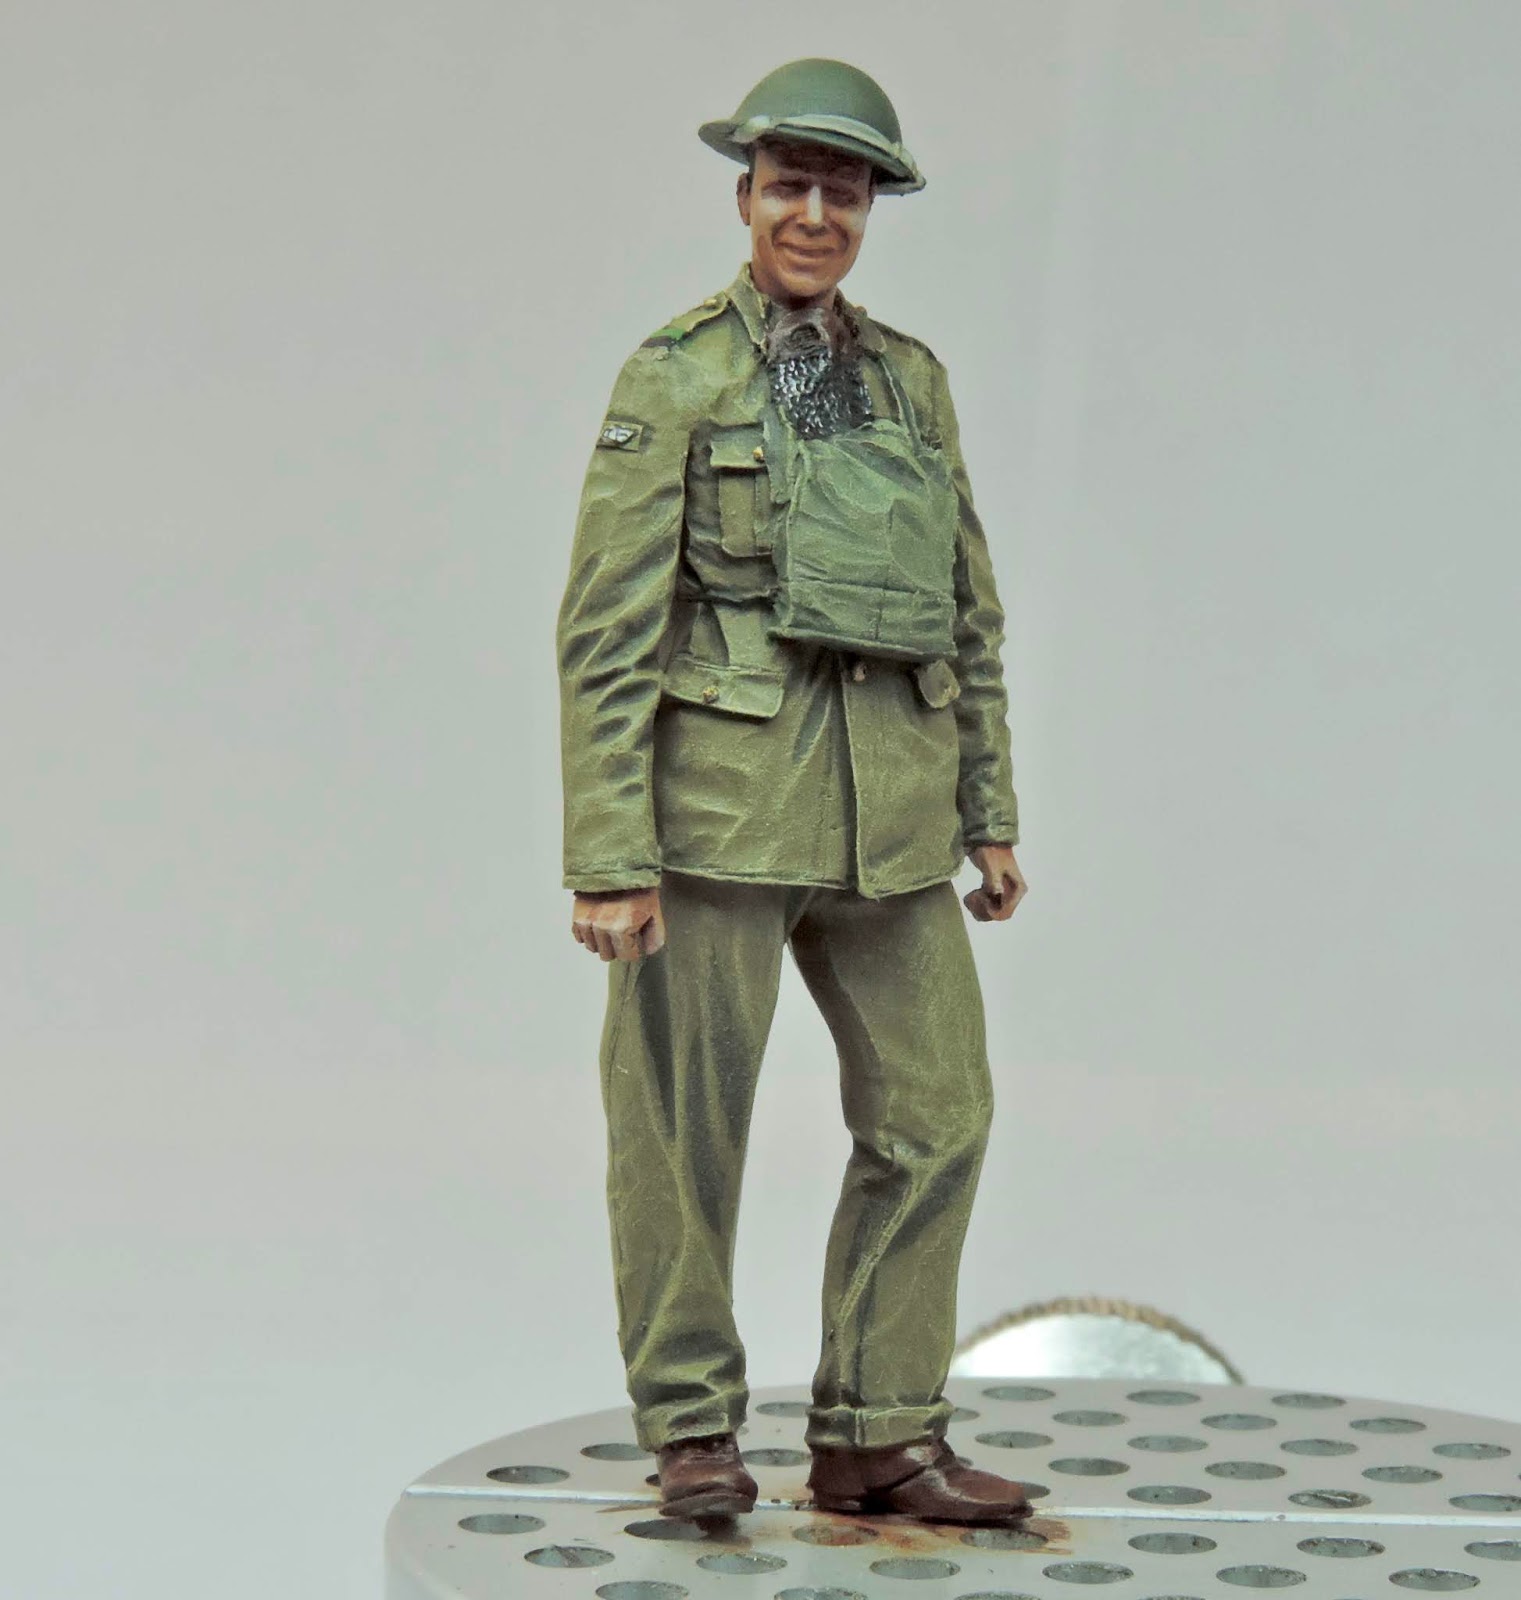
That's the tank crew finished apart from a bit of matt varnish once the oils on the boots dry. Really happy with the way they came out and just love all the details present on them. They should look right at home on the tank later on.
I've now finished the uniforms on the figures and have just started on the insignia and flesh areas. The details really do stand out now and I'm really enjoying painting these.
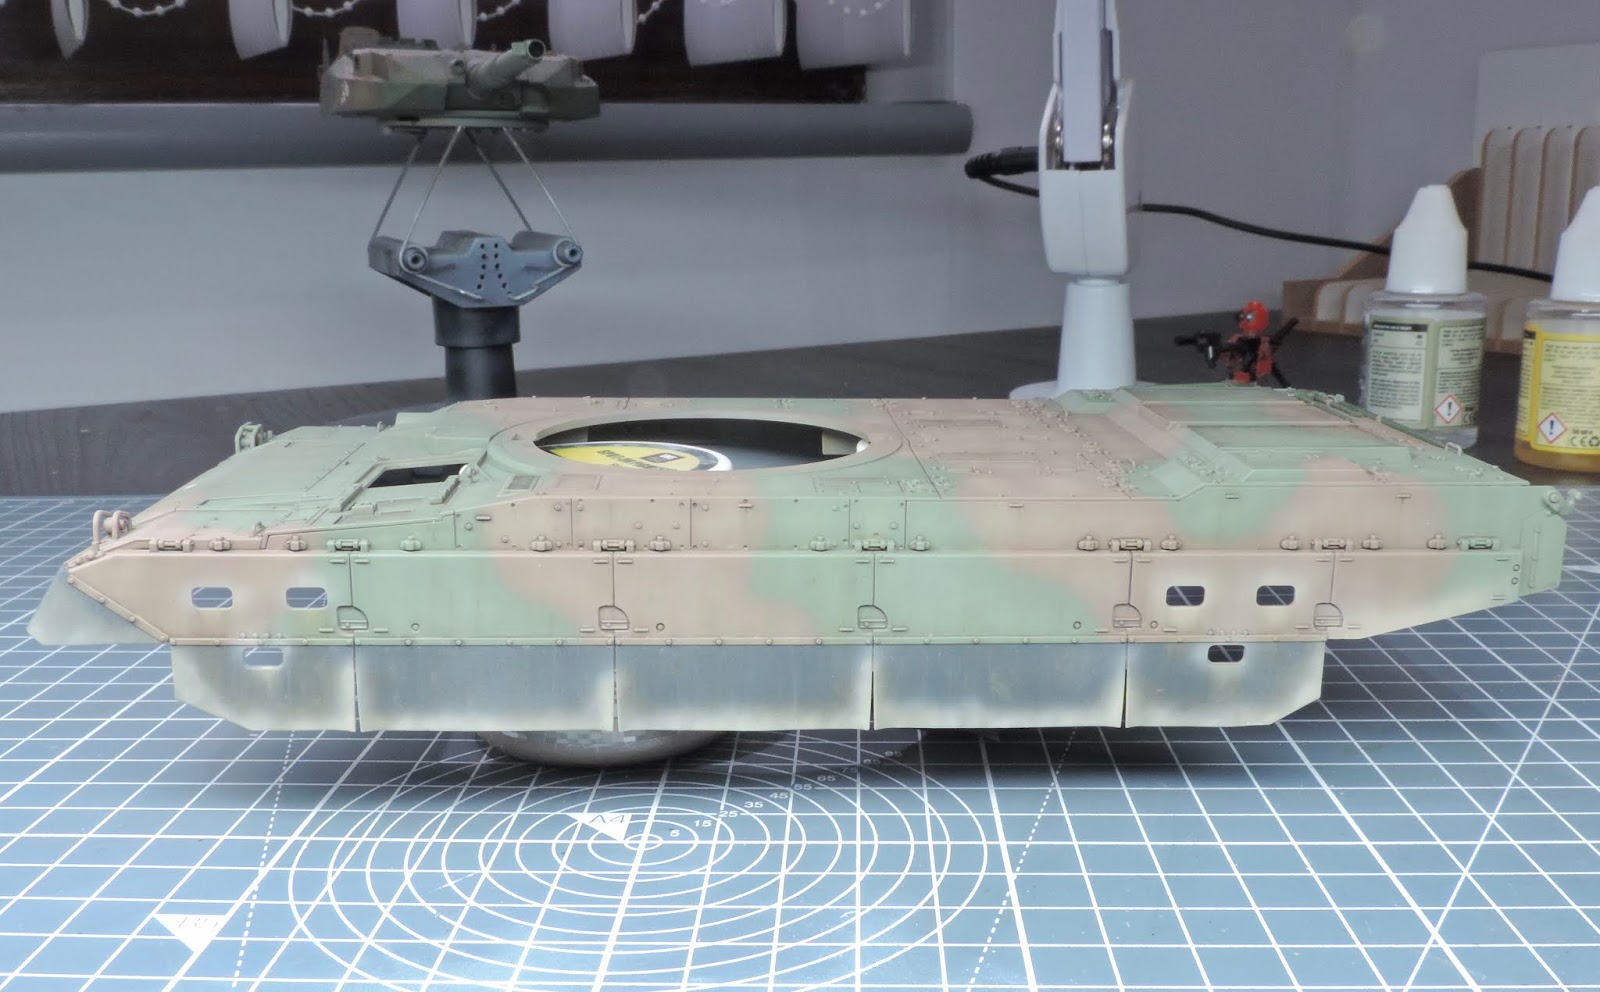
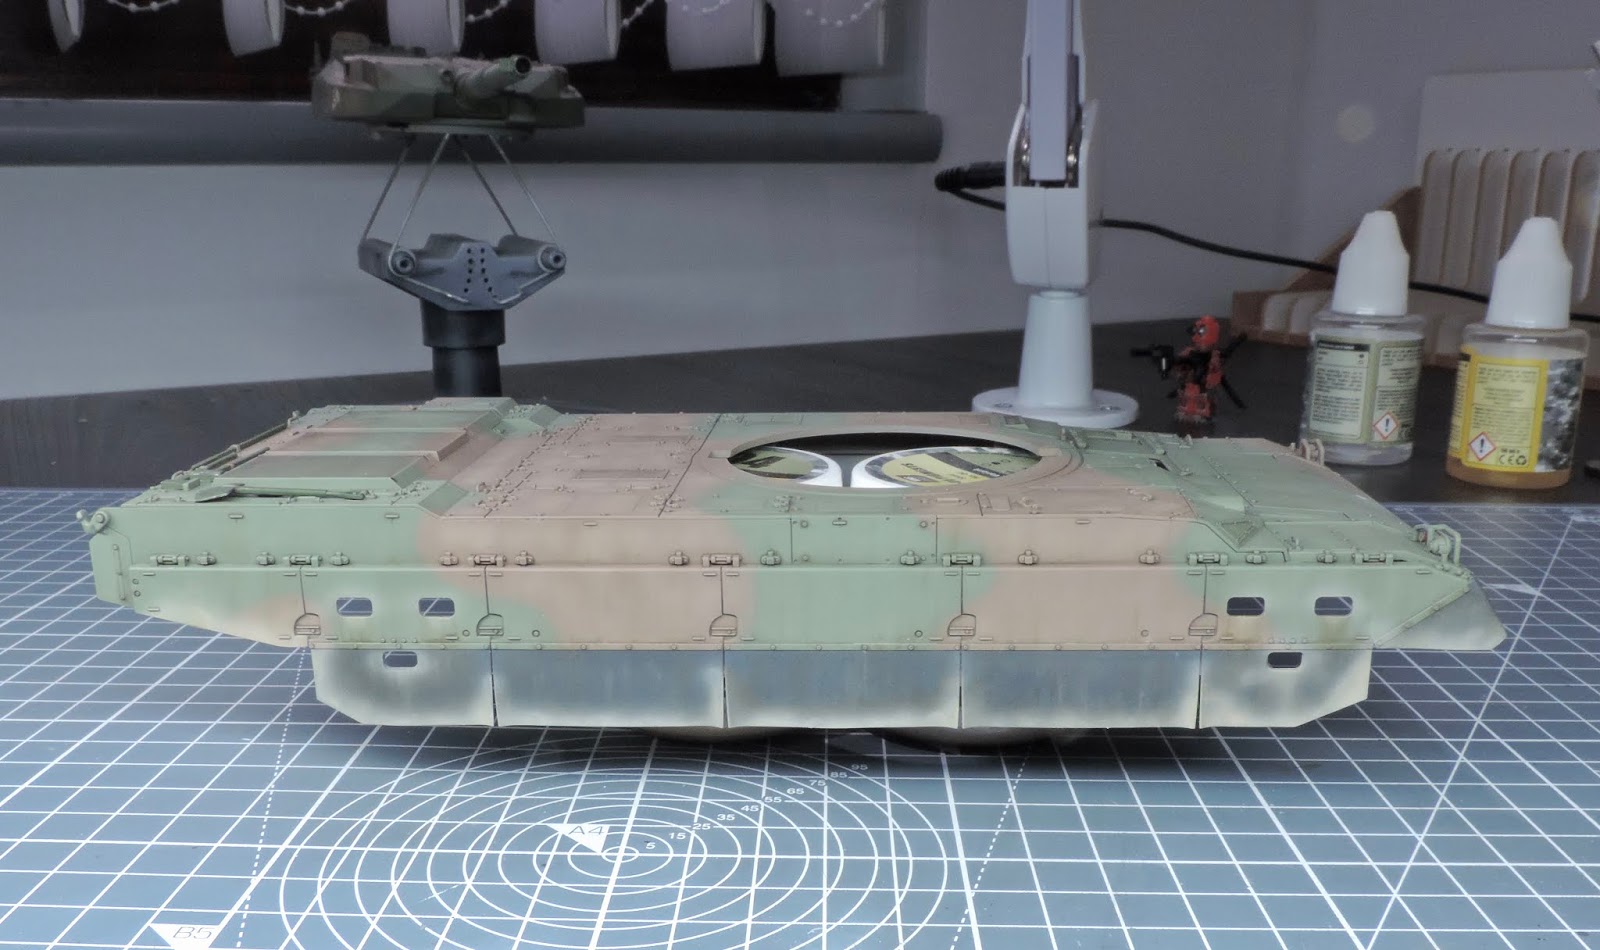
The paint arrived the other day so I've now sprayed the model using the suggested mix called out in the tamiya painting guide. It's 1 part XF 52 & 1 part XF 55. I then lightened this with more XF 55 followed by a couple of drops of white to finish off. Next some X 19 smoke was sprayed on to create some darker areas.
Whilst I wait for some paint to arrive for the tank I've started to work on the figures. Under a coat of primer you can really appreciate the fine sculpting of them. I've already started painting with a base of vallejo panzer aces 317 British tank crew.
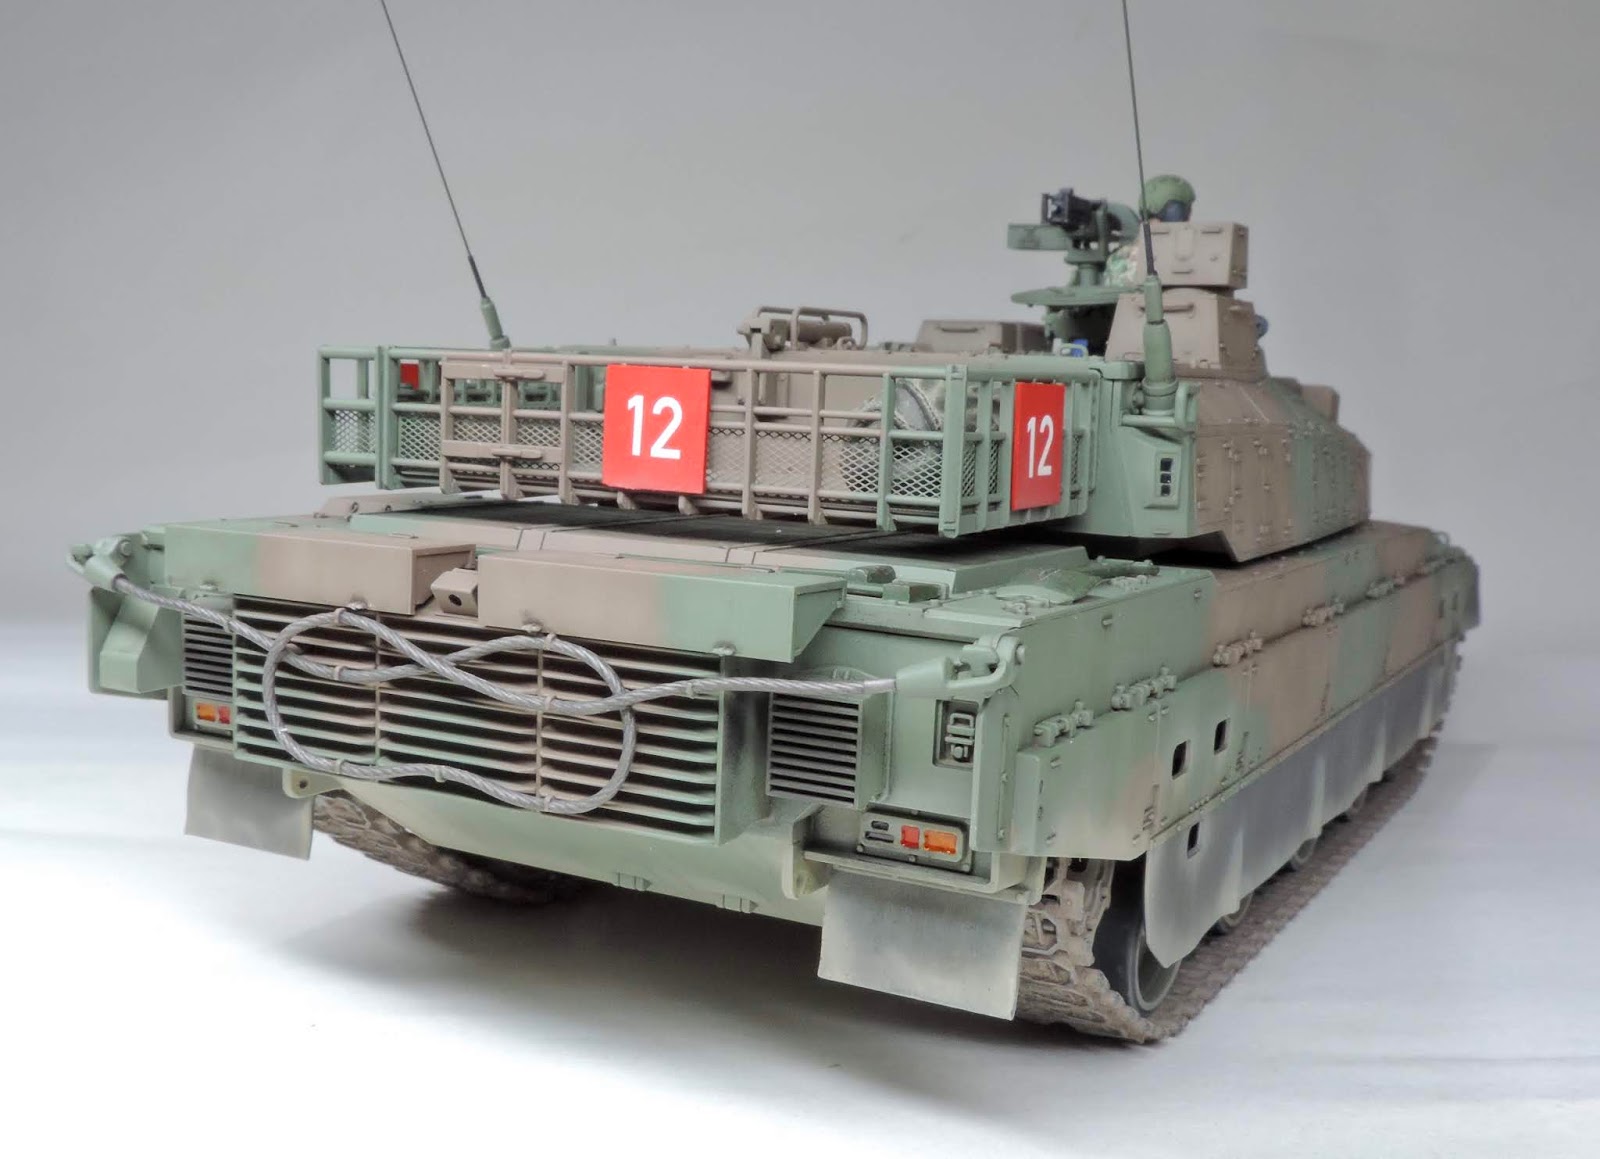
Well that's another model finished! Didn't take me long to finish it up with just some carbon fibre antennas and the translucent film supplied in the DEF update set used for the periscopes. This worked really well and looks very much like modern optics. I really enjoyed this one being almost out of the box. So easy to build and great fun to paint.
This is my fifteenth model finished this year, I guess retirement is suiting me! I will make a small base for this soon, probably when I sort one out for the Mk IV male tank.
The model has now had a good selection of weathering added finishing off with some oil dot fading and dust effects added to the lower skirts. Once that was all dry I finished off with some dust effects sprayed on with thinned tamiya buff. The model was then given a matt coat before picking out the lights last night.
The tracks received a slurry of pigments and once dry I'll use a stiff brush to remove the excess before picking out the contact surfaces with graphite powder. I'm pleased with the effects on this and have purposefully kept it reasonably clean because that's how they are in real life.