The paint arrived the other day so I've now sprayed the model using the suggested mix called out in the tamiya painting guide. It's 1 part XF 52 & 1 part XF 55. I then lightened this with more XF 55 followed by a couple of drops of white to finish off. Next some X 19 smoke was sprayed on to create some darker areas.
Whilst I wait for some paint to arrive for the tank I've started to work on the figures. Under a coat of primer you can really appreciate the fine sculpting of them. I've already started painting with a base of vallejo panzer aces 317 British tank crew.
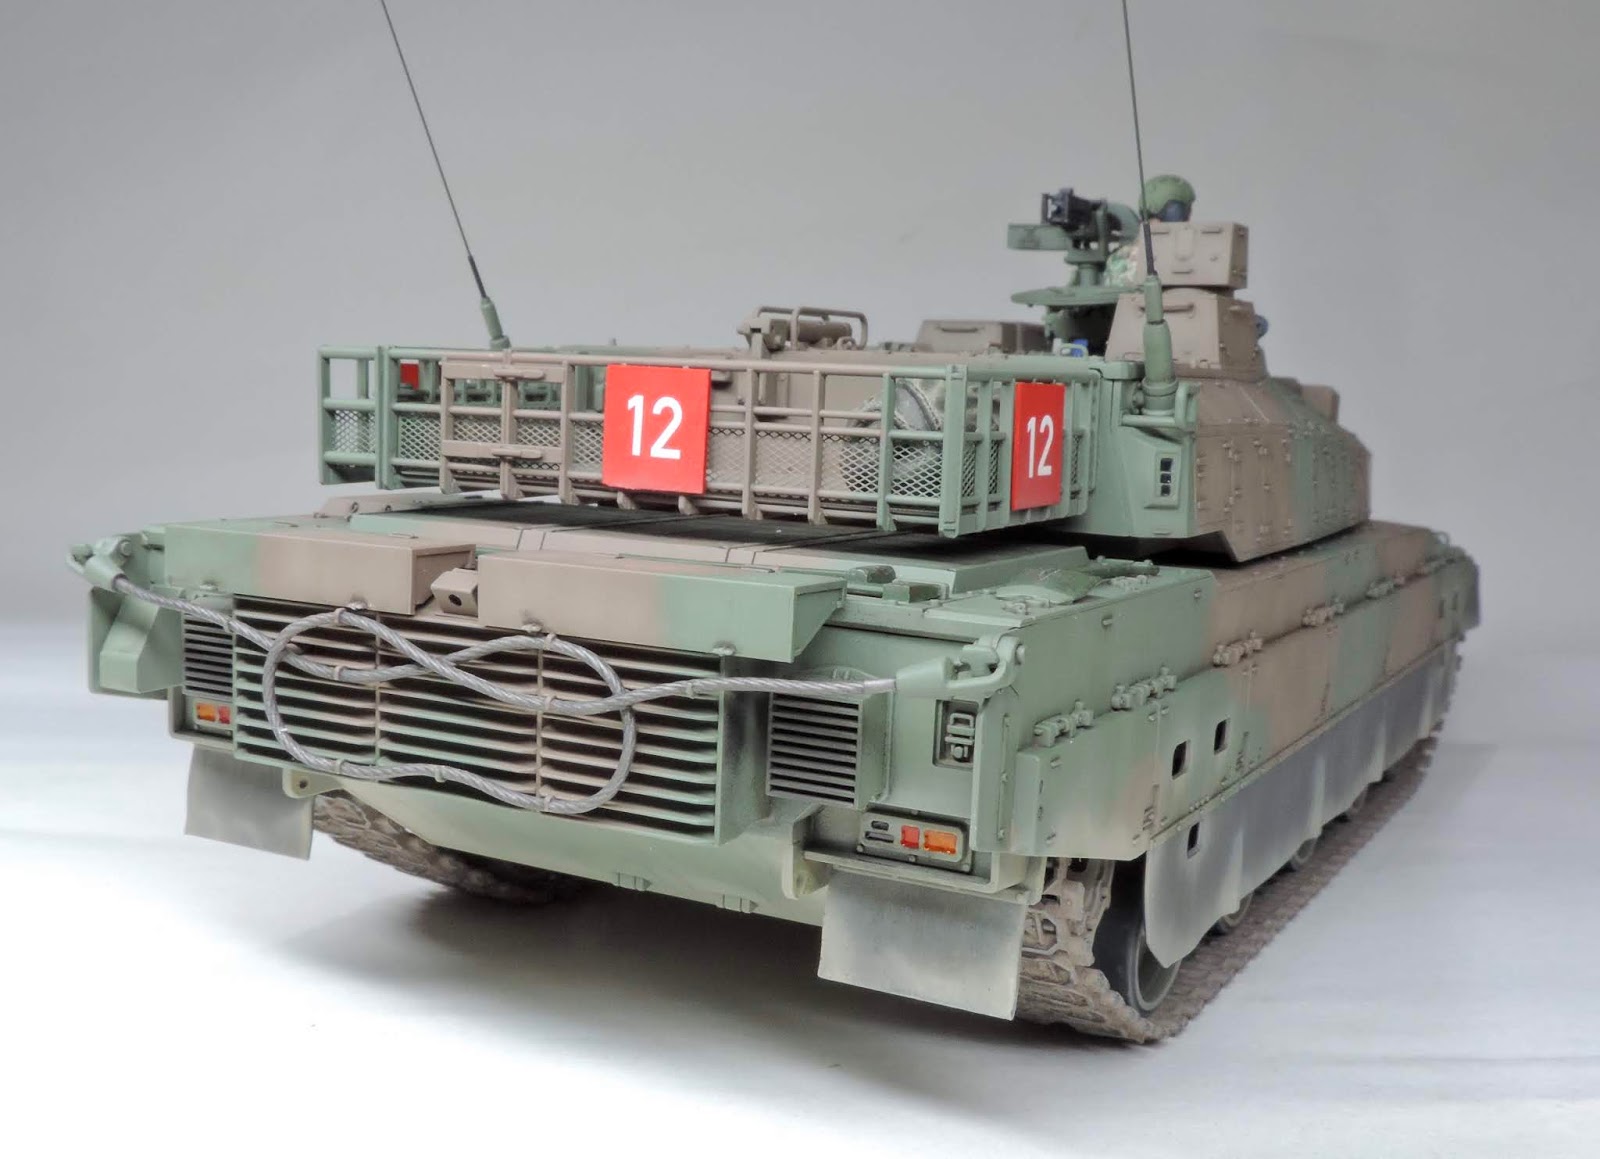
Well that's another model finished! Didn't take me long to finish it up with just some carbon fibre antennas and the translucent film supplied in the DEF update set used for the periscopes. This worked really well and looks very much like modern optics. I really enjoyed this one being almost out of the box. So easy to build and great fun to paint.
This is my fifteenth model finished this year, I guess retirement is suiting me! I will make a small base for this soon, probably when I sort one out for the Mk IV male tank.
The model has now had a good selection of weathering added finishing off with some oil dot fading and dust effects added to the lower skirts. Once that was all dry I finished off with some dust effects sprayed on with thinned tamiya buff. The model was then given a matt coat before picking out the lights last night.
The tracks received a slurry of pigments and once dry I'll use a stiff brush to remove the excess before picking out the contact surfaces with graphite powder. I'm pleased with the effects on this and have purposefully kept it reasonably clean because that's how they are in real life.
So after a check for any flaws or areas needing attention and a wash the model has now had a quick blast of primer and looks much better for it. I've also sorted out the two figures I had for it courtesy of my old mate Soapy. The standing figure has had a new head fitted as well. They should work a treat with the model.
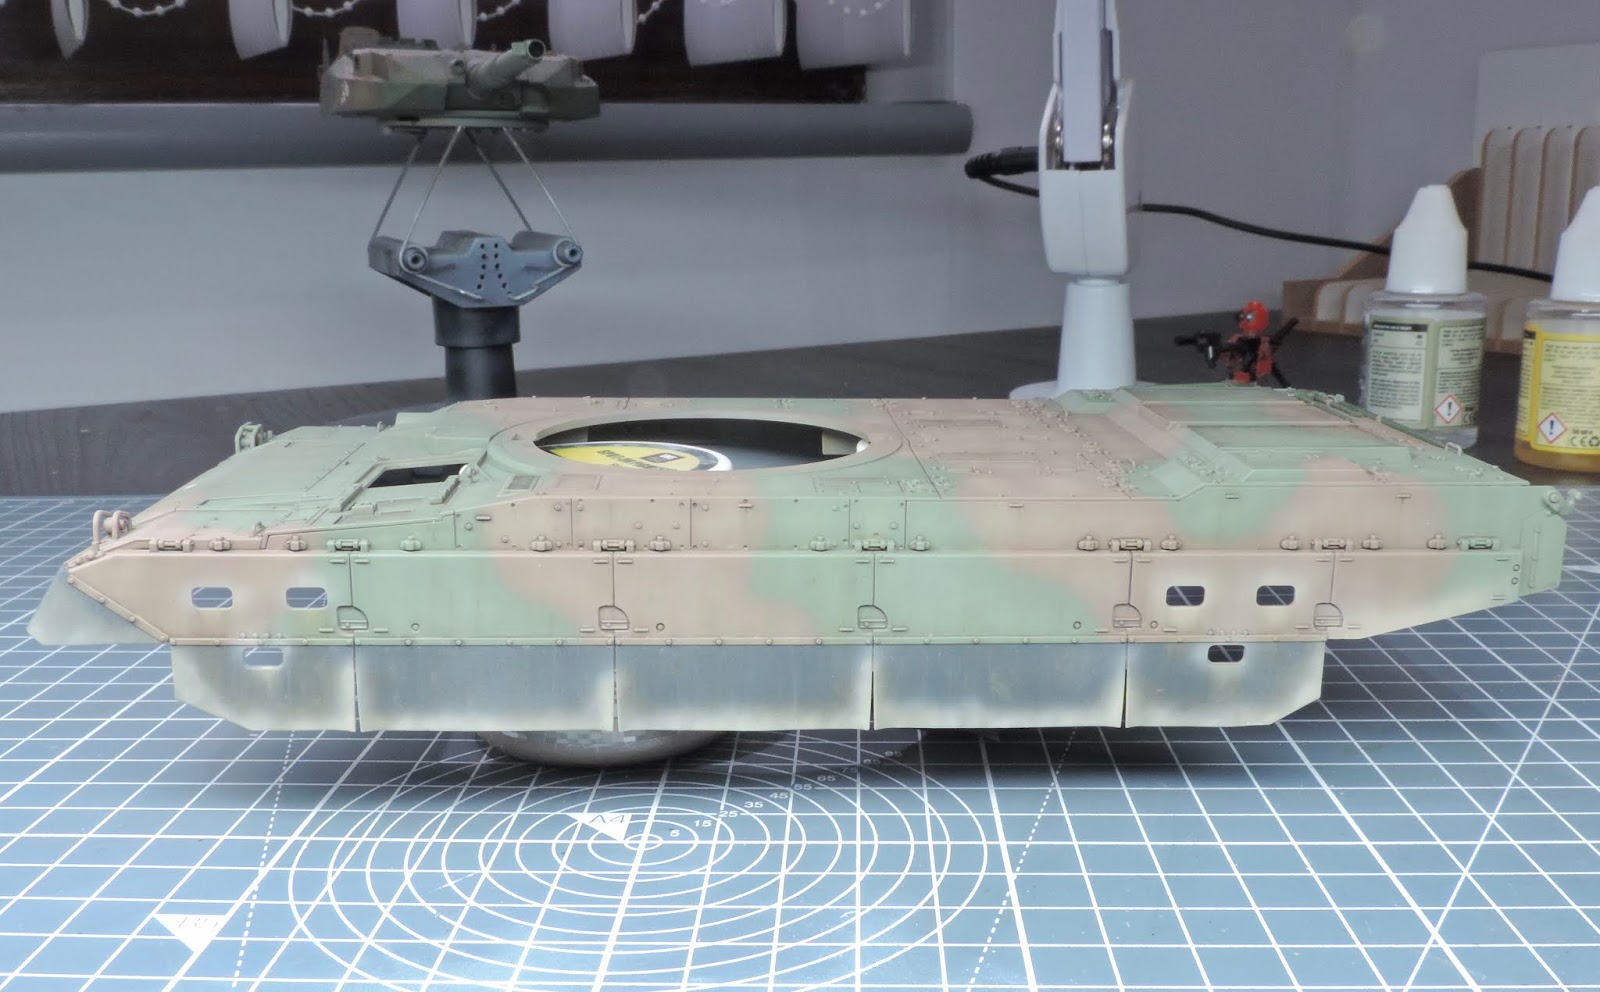
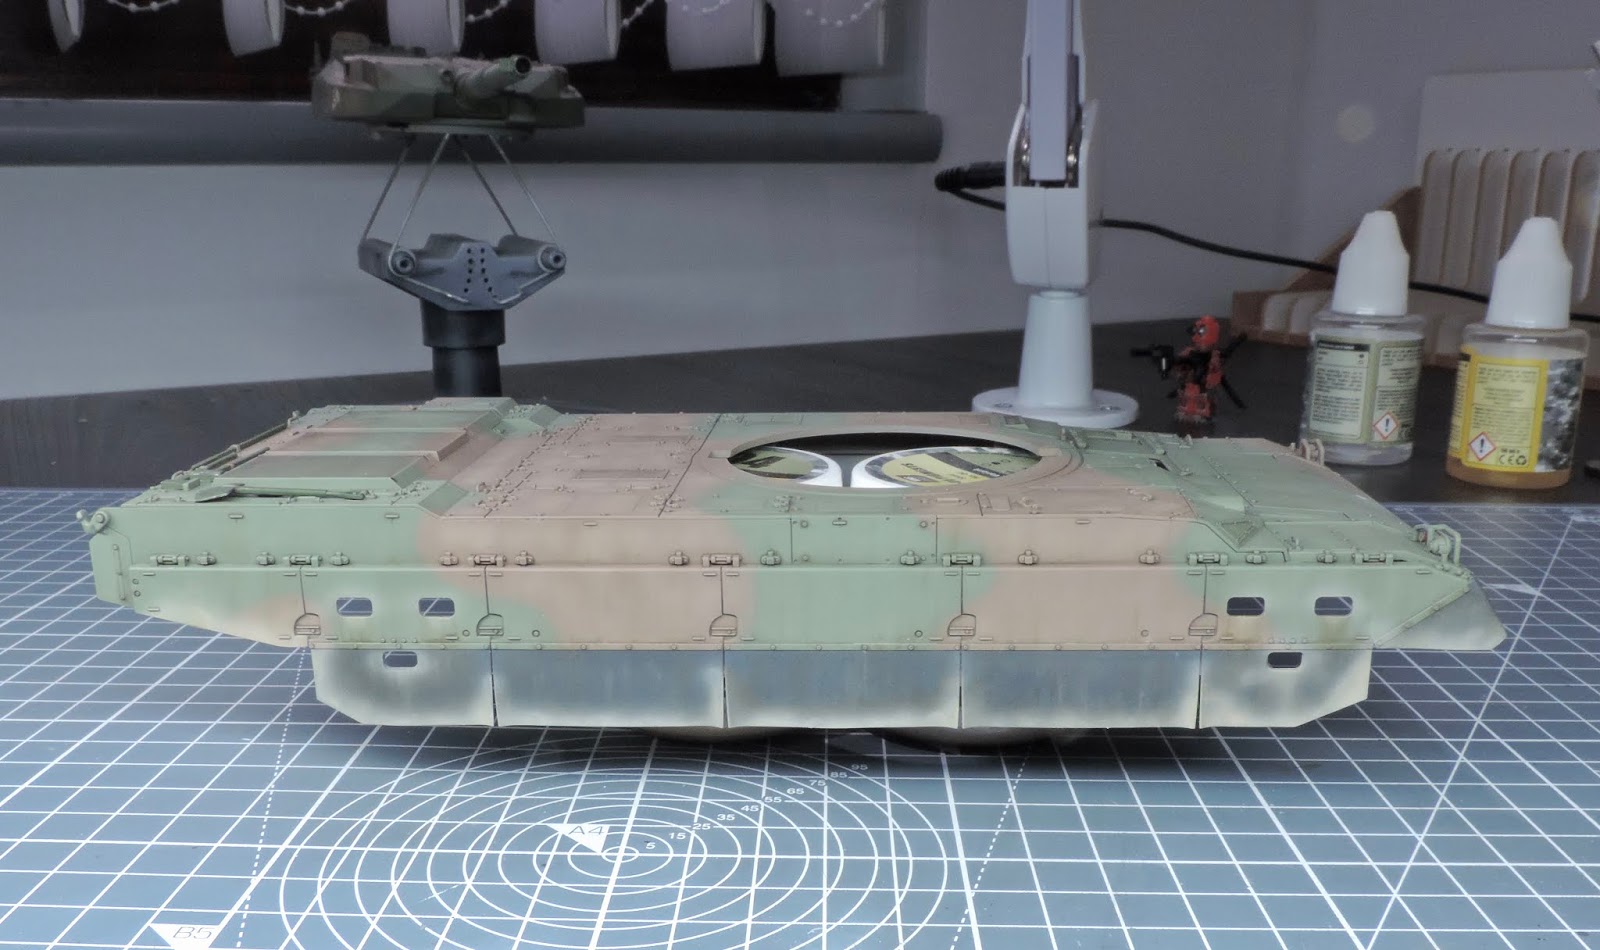
I've now started on the weathering for the type 10 and have added a couple of light dusty filters and an initial pin wash using dark oils. I'll add another dark pin wash before mixing up further dusty filters then finish off with some oil dot fading. As the model has extended side skirts I will probably finish off with a dusting of tamiya buff to show some buildup along the lower edges of the hull.
Some manoeuvre boards have also been made up from plastic card and spare decal numbers as it's something I've seen in pictures and also adds a nice splash of colour to the finished model.
Whist rummaging in the loft I came across the Mk IV male tank from tamiya that I almost finished back in 2017. I got to the primer coat and just lost interest so it went up in the loft. So back from obscurity and covered in dust and spider webs it's time to make something of it.
Here's the romfell all finished on it's base after some static grass, carved weeds paint & pigments. The engine side covers are my best guess as they seem to be hinged along the bottom edges. They are just placed and not fixed at the moment until I can find out for definite that was how they were on the real vehicle.
I really enjoyed this kit, the quality of the parts was excellent and the construction was pretty easy. I just love the look of it and hope Copper state models release more WW1 armoured cars in the future.
Today I've been working on the base for the model. As usual nothing fancy just a nice wooden base with some plaster, fine sand and fine gravel added. Once the plaster mix starts to set I use a finger to smooth out the surface then a piece of cling film goes over it and the model and accessories are gently pushed into the setting plaster. The cling film stops anything sticking to the wheels.
Once it's dried I'll add some grass, weeds and fallen leaves after fixing the sand & gravel using VMS sand & ballast freeze.
Over the last few days I've been concentrating on the figures for both models. The romfell figure just needed a matt coat and the buckles picked out on his leather leggings.
The type 10 figure received my usual method of decals for the uniform followed by painting with vallejo colours. I painted the legs black as they won't be seen once he is in the turret and it also saves on the decals too.