
Wednesday, 30 January 2013
Coloniale Figure
The figure to go with the Coloniale arrived today thanks to Historex agents speedy service. As you can see I went for a Wolf figure in the end as I liked the camo smock and his rather fetching goatie!

Grizzly Dio
I have now started sorting out the dio for the grizzly and for this I went fro a port-a-cabin as I have some pictures of grizzly's parked up with cabins in the background. As space is tight in the display cabinets I went for a partial building and used some foam board for the basic structure. This is the first time I have used this and it was very easy to work with. Some details where added with plastic card and a window opening cut out. I then masked all the edging and sprayed some games workshop rough coat to simulate the rough finish sometimes seen on these cabins. I also made a small light from plastic card.


I may add a small junction box to the cabin and some cabling too. So next its onto the ground work and painting the figure.


I may add a small junction box to the cabin and some cabling too. So next its onto the ground work and painting the figure.
Tuesday, 29 January 2013
Coloniale Colouring Part 2
Well I am really enjoying this kit and can't seem to stop working on it. Decals are on plus filters and pin washes which have toned down the colours nicely. Some dust and mud will be sprayed on then it will be a matt varnish and pigments to finish it off. Figure wise I went for a nice Wolf miniatures figure in the end so that should be arriving soon.


Sunday, 27 January 2013
Coloniale Colouring
More work on the Coloniale and today I have got some paint on after priming. I went for a vehicle in the Balkans as I was quite taken by the use of two different shades of green. I used Mr Hobby aqueous colours H303 and H309. The lighter green went on first followed by a misting of the same colour with a drop of white added then the darker green was sprayed on free hand. Details where painted next using vallejo colours and I used vallejo panzer aces canvas for the canvas strangely enough!


So far its going very well and certainly quickly! I have been looking for a nice figure to go with the finished model and must say it's not easy to find a decent Italian figure but I have seen a rather nice one by Royal Models which should work well.


So far its going very well and certainly quickly! I have been looking for a nice figure to go with the finished model and must say it's not easy to find a decent Italian figure but I have seen a rather nice one by Royal Models which should work well.
Saturday, 26 January 2013
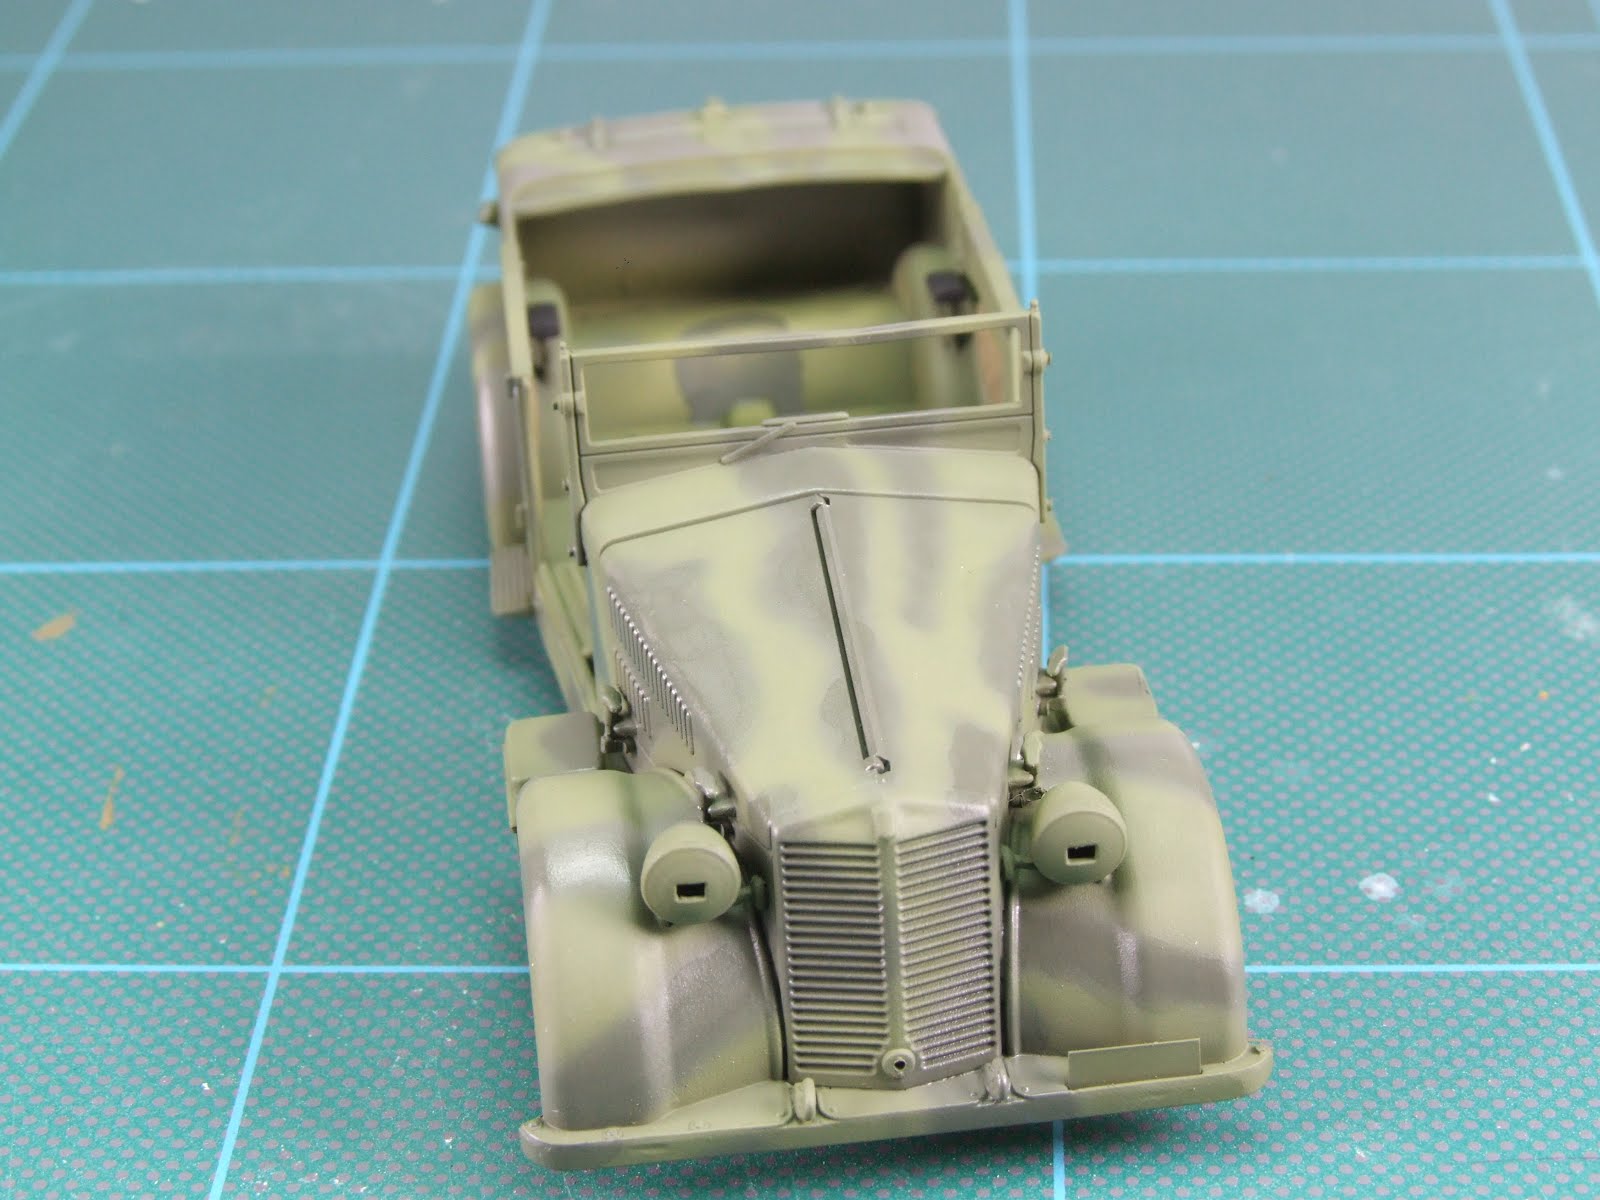
Coloniale Construction
I started work on the Coloniale last night and would you believe it I have almost finished building the model! The kit just flew together which is something of a rarity when it comes to Italeri kits and myself, a pleasant change that's for sure. A little filer and Mr surfacer was used here and there but on the whole the fit was good. However there was lots of clean up of parts to be done with almost every part requiring some clean up. The wheels did not fit together very well and subsequently when sanding down the seams you loose most of the tread detail. I do like the "FIAT" embossed hub caps though.


The only thing left to do is glue the chassis to the bodywork before painting so I can get it straight as the fit is a bit vague then it's onto painting!


The only thing left to do is glue the chassis to the bodywork before painting so I can get it straight as the fit is a bit vague then it's onto painting!
Friday, 25 January 2013
Italeri 1/35th 508 CM Coloniale
Continuing my obsession with all things small and especially staff cars at the moment this is the next model on the smudgewerks bench,

This is an all new kit from Italeri and looks quite nice,


It's only two sprunes and generally the detail is quite nice however there is quite a lot of flash and ejector pin knockouts to deal with as well as some depressions which need to be filled. This is most evident on the doors. The canvas hood also has a very strange texture moulded on it which I think is italeri's attempt to depict rough canvas.


Some detail looks quite soft and unrefined but with careful work an interesting and unusual model can be produced. I am looking forwards to the challenge!

Grizzly Figure Sculpting
Today I have spent a pleasant afternoon adding the new uniform details to the figure. As usual I have used magic sculpt for this. Once it has dried a little tidying up will be needed and then I can paint him up ready for the dio.


Tuesday, 22 January 2013
Grizzly Figure
Work has begun on the figure to go with the grizzly and for this I have used one from masterbox set patrolling Vietnam war series No MB3599. These figures are a good base for Canadian soldiers circa 1980's & 1990's. I am also using a hornet head from set No HQH01. I have carved off the detail on the torso and will re sculpt the details using magic sculpt. Some work also needs to be done on the cargo pockets on the trousers and the lower jacket pockets.

I have also made a start on bits for the dio and made up some rubbish bags using a small bit of kitchen foil inserted in a surgical glove finger. Once secured with some wire just trim off the top and the bag can be moulded into any shape. They look really convincing too. Thanks to Dicky over on Modelers Social Club forums for the very useful method.


I have also made a start on bits for the dio and made up some rubbish bags using a small bit of kitchen foil inserted in a surgical glove finger. Once secured with some wire just trim off the top and the bag can be moulded into any shape. They look really convincing too. Thanks to Dicky over on Modelers Social Club forums for the very useful method.

Go Marines!!
Work has been swift on the hovercraft and it's been most enjoyable. The parts to be added are insanely tiny and clean up has been fun with my big sausage fingers! However the detail is really very nice. Apart from gluing the two superstructures to the deck and building the remaining vehicles construction is now complete.


Friday, 18 January 2013
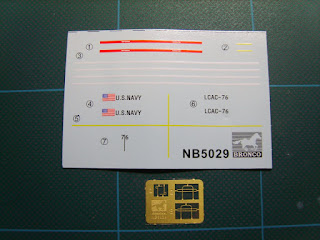
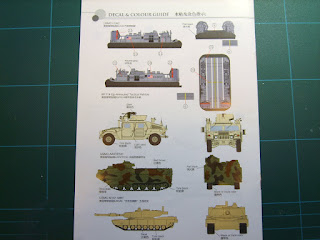
Bronco 1/350th USMC LCAC
Next on the bench, while I wait for bits to arrive for the Grizzly build is Bronco's super little USMC LCAC. Detail is very crisp and the kit even includes a Humvee, Abrams and a AAVTP7A1 so at least you have a load to display when finished.


This should be a nice quick build again having only 10 construction stages so I better crack on! Here are a couple of pictures of the real thing,


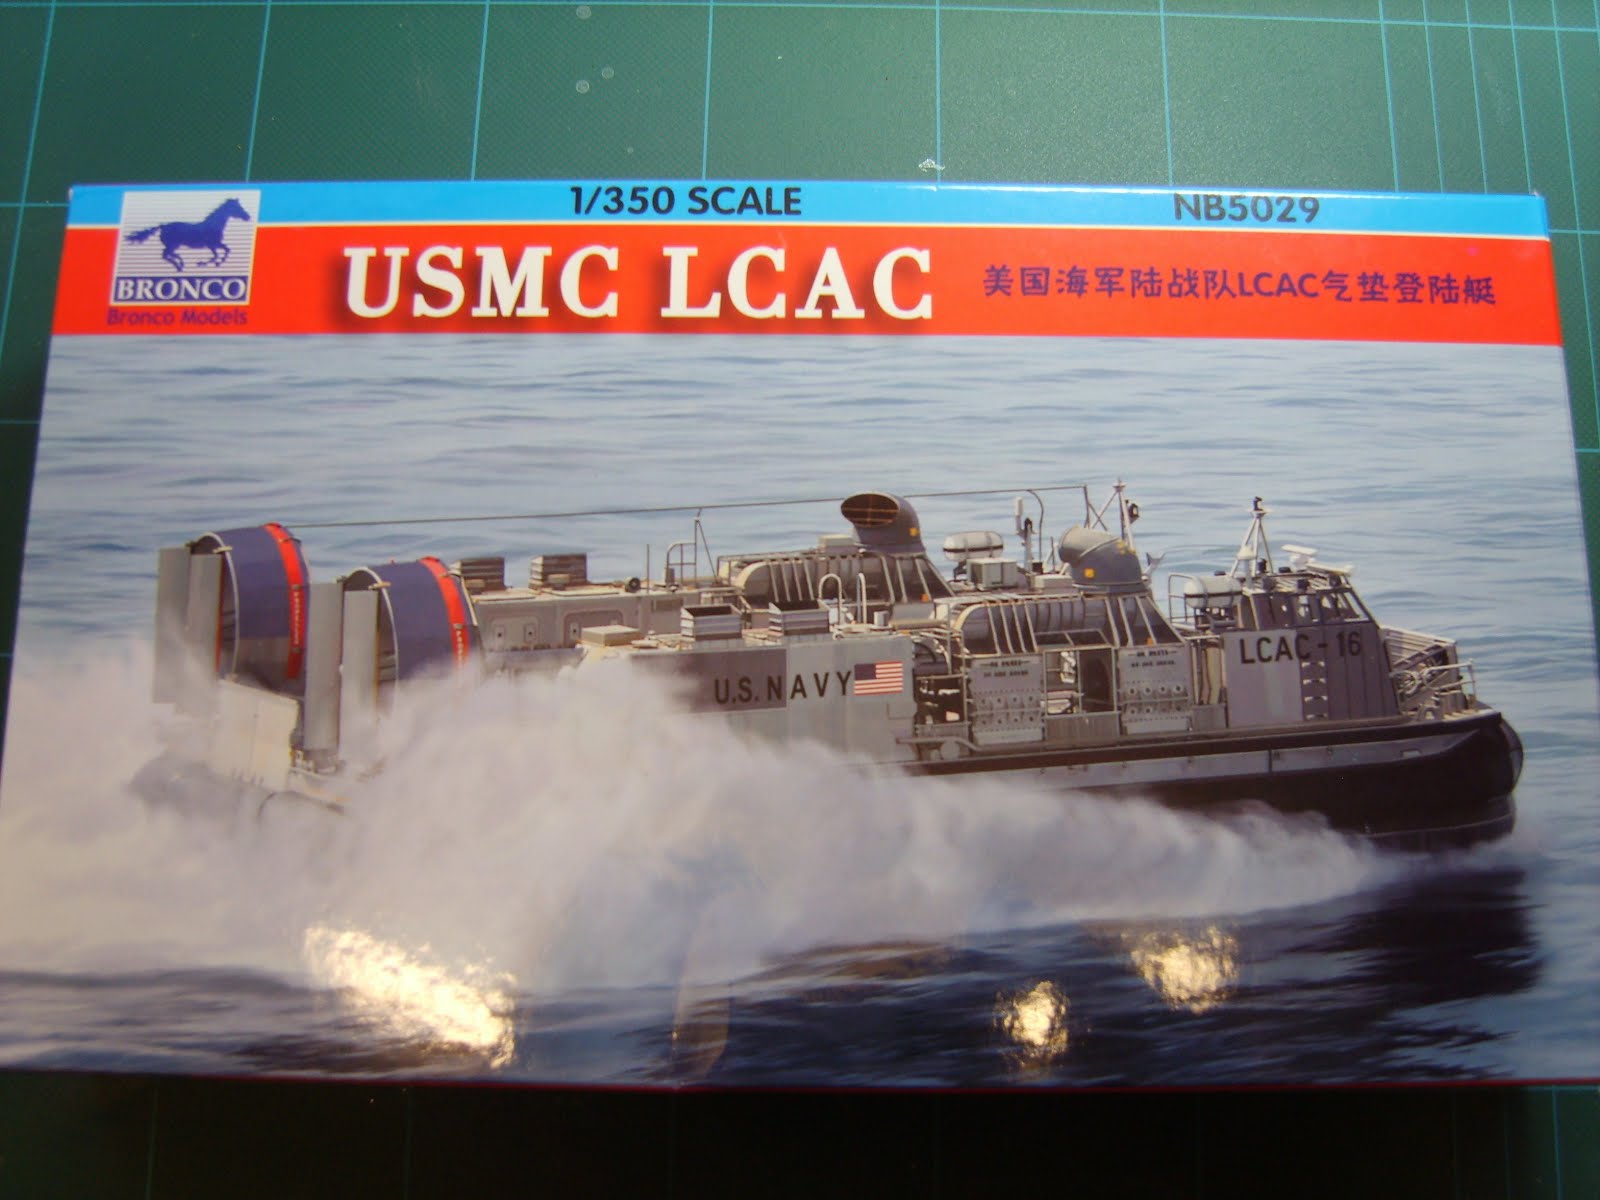


This should be a nice quick build again having only 10 construction stages so I better crack on! Here are a couple of pictures of the real thing,


Tamiya Simca Staff Car Finished
The Simca is now all finished and is now on it's base, I am very pleased indeed with the model. It's a real winner and being simple to build is a real tonic if you sometimes need a quick fix, easy to build and a delight to paint.


Subscribe to:
Posts (Atom)