Lots to show for really very little work I'm afraid. It's been quite bitty at the bench so far this year but I'm sure things can get back on track.
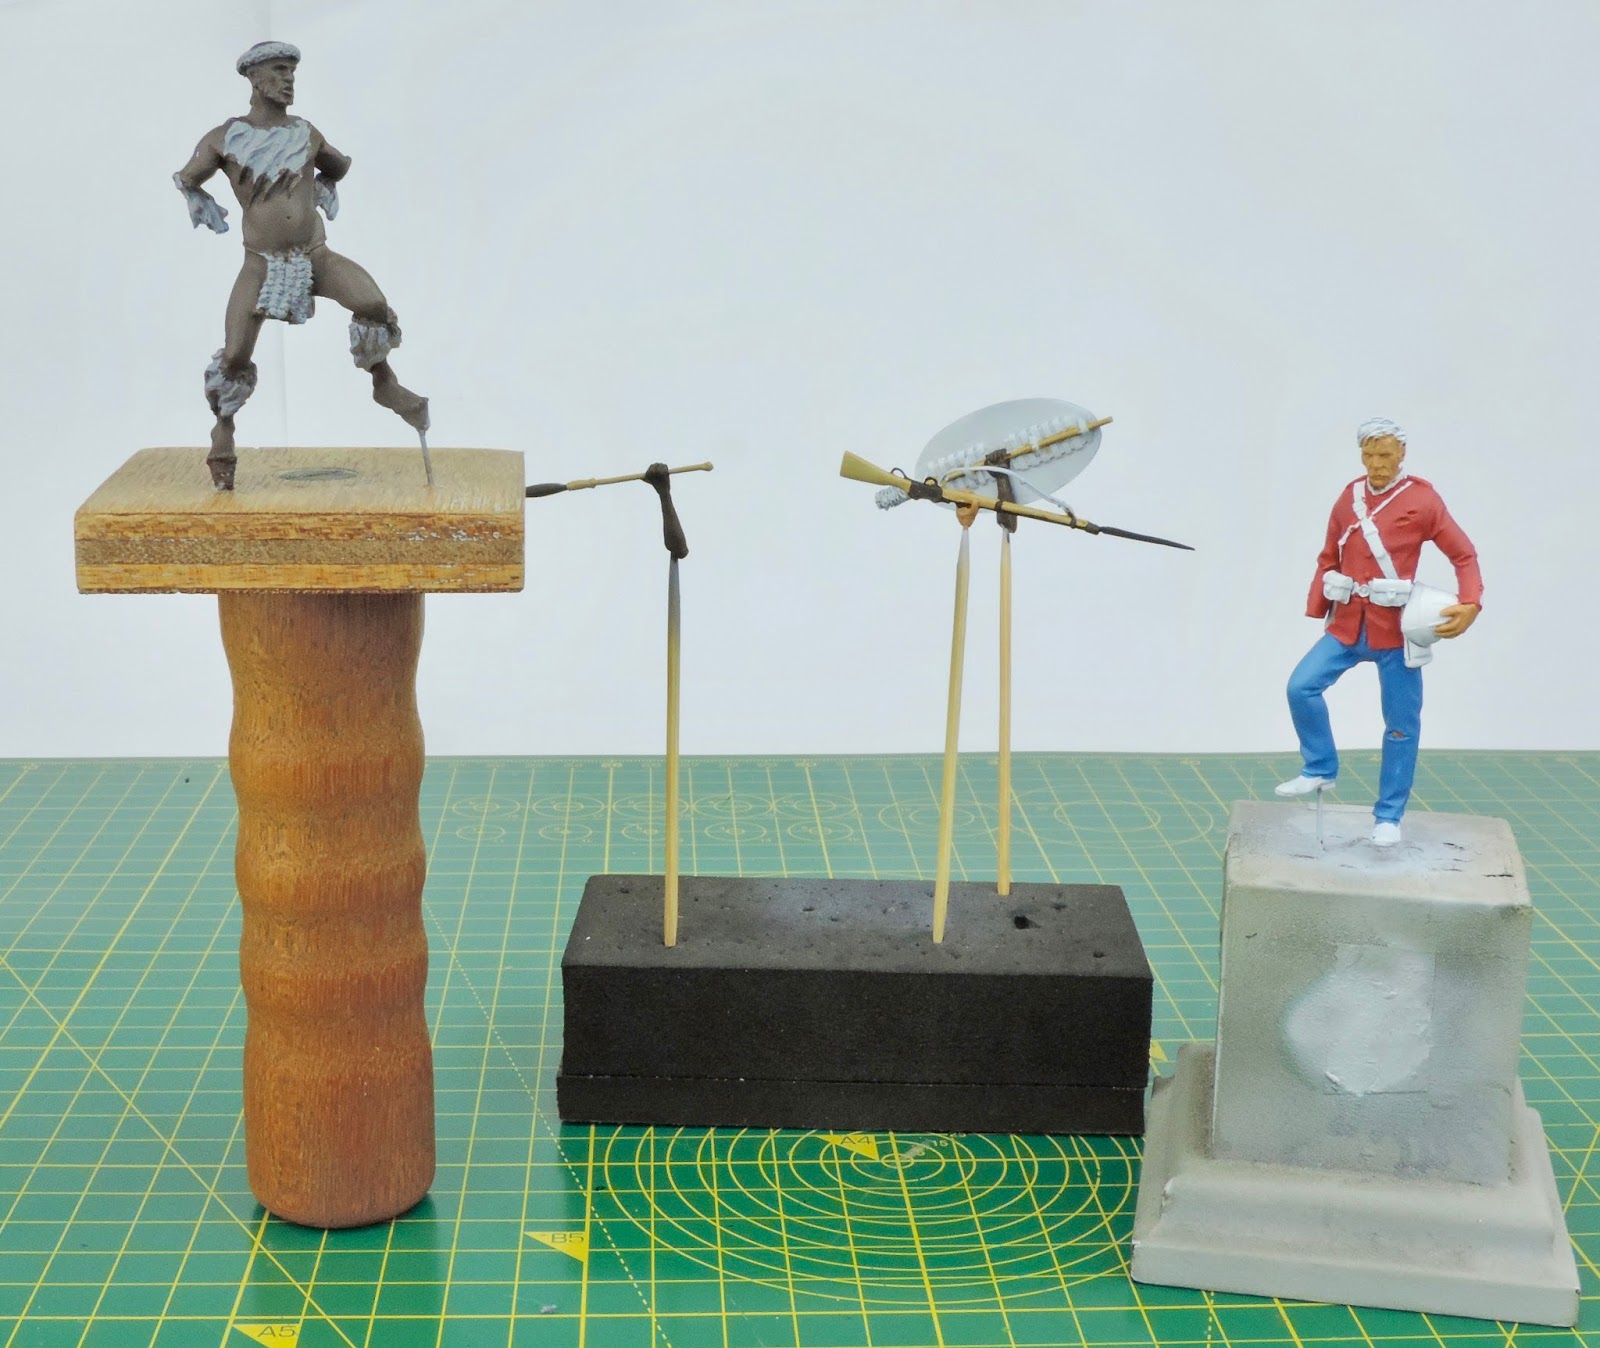
First it's on to the Isandlwana project and after reviewing the red colour of the tunic I decided to strip it all back and start again. Thanks to my mate Soapy who lent me a set of AK interactive paints for red uniforms I've now got a much better colour to start with on the tunic. The Zulu has also had some brown oils added and this will be getting shadows added next. The wood on the rifle, spear & shield have also been painted using oils.
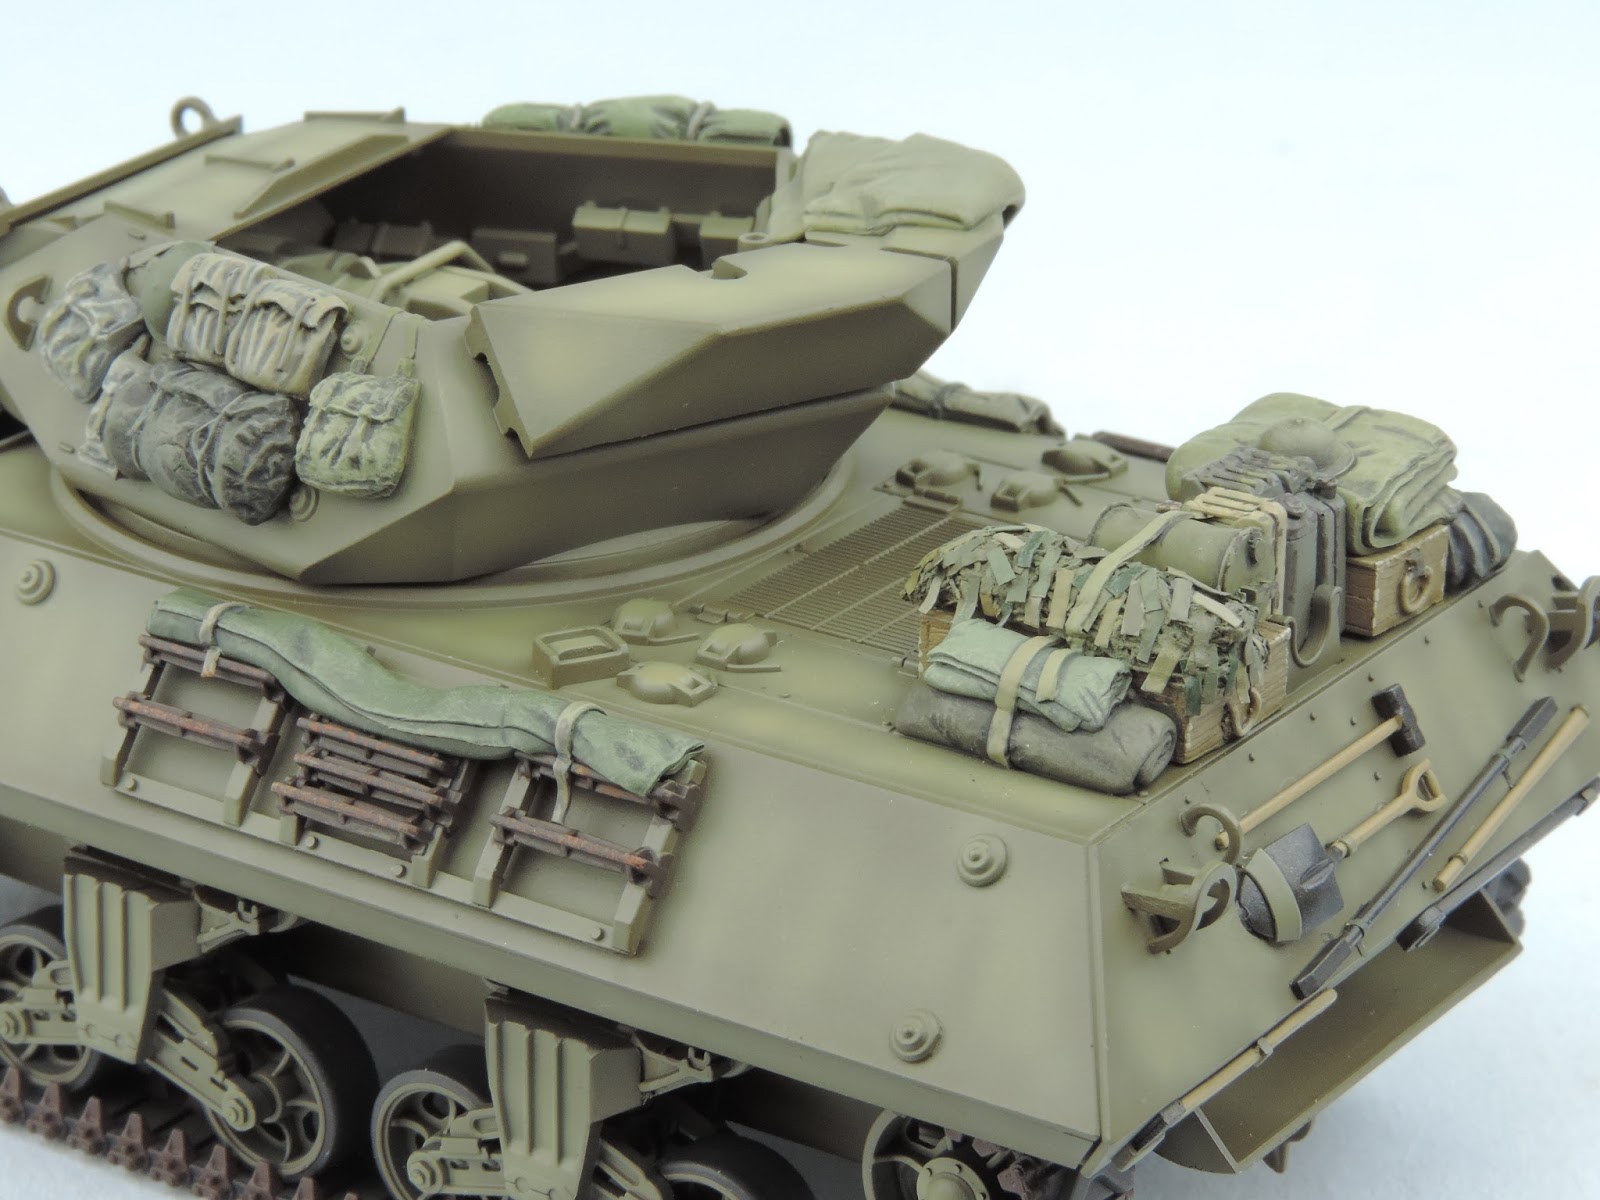
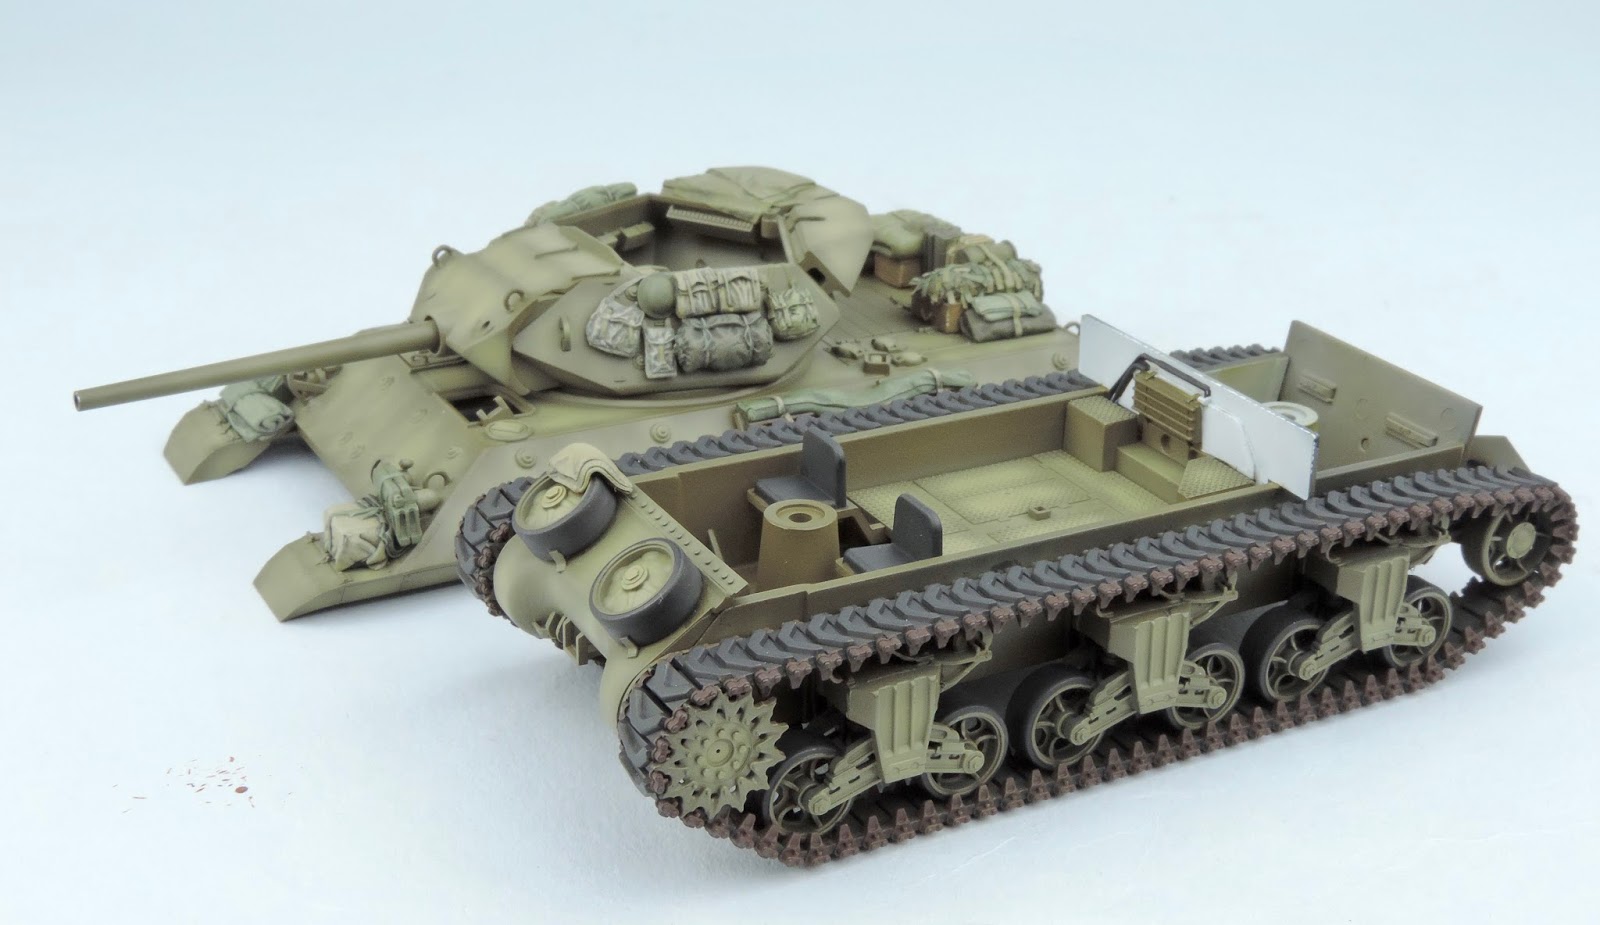
The M10 build is next and here I bought some figures from historex agents. They arrived really quick as usual but I was slightly disappointed with the quality of them as they had loads of pin holes and very heavy resin mold plugs to remove. A lot of work was needed to get them up to scratch. However they are now all done and have had a coat of primer, should look good once painted up.
And lastly I've started another build, this one is for an engineering group build on modellers haven online forum. I've chosen Takom's Feldumschlaggerat 2.5T forklift. Mostly because I've yet to see one built up but also as I do like odd vehicles. It's building up very well so far and for a reasonably small model has loads of detail.
Well I've made a start on the tunic with oils and have had a bit of a battle trying to get the tones right. My first attempt didn't go too well with the shadow colours turning the tunic a reddish brown in places. So after stripping that back I went again and have now got just a base red on. However I think it should be more scarlet in tone or perhaps a shade lighter. I'll give it until tomorrow and then see.
Maybe an undercoat of scarlet would work better? Anyway it's a learning curve and I'm sure I'll get it right soon!
A happy new year to you all and I hope 2018 is a successful one for everyone as well. 2018 marks the 10th year of the blog and as I've said the focus will be on building more modern British stuff, I don't plan on buying many kits either this year but we will see how that pans out!
There may also be big changes in my personal life as well as an attempt to try and get fitter and lose some weight, my back allowing that is. I'm just trying to stay off the pies & chocolate this year! Anyway all the best for the year ahead and get ready for some more interesting builds.
This year I've had a good few amazon vouchers for Christmas, I prefer these as I can then get what I want and buy books for my kindle almost all year using them. So suitably stuffed with xmas dinner and a few beers I proceeded to spend, spend, spend!
I have had my eye on the forklift for some time as it's an unusual vehicle and I've yet to see one built up so that went in the cart. The two books are also essentials for me as I love Chieftains & I don't have anything about the modern RTR, just the job. The brushes came courtesy of secret santa we do every year with the wife's family. So not a bad haul and I've still got plenty to spend, wait I can almost feel myself getting festive. Glad xmas is over!
The decals are now on the model and here I used a set from Peddinghaus. They are nice and go down with no problems. I didn't spray a gloss coat beforehand as the paintwork is glossy enough. I will however add a gloss once they are dry to seal them in. A bare minimum of chipping will go on after that before the matt coat.
The turret ready rounds have also now been painted up and here I used for the first time some AK interactive true metal brass. This stuff comes in a tube like oil paints and has a waxy smell and texture. It paints on like any normal paint and once dry, I give it about 40 minutes, it can be polished to a high sheen with a cotton bud or soft cloth. Quick and simple just how I like it!
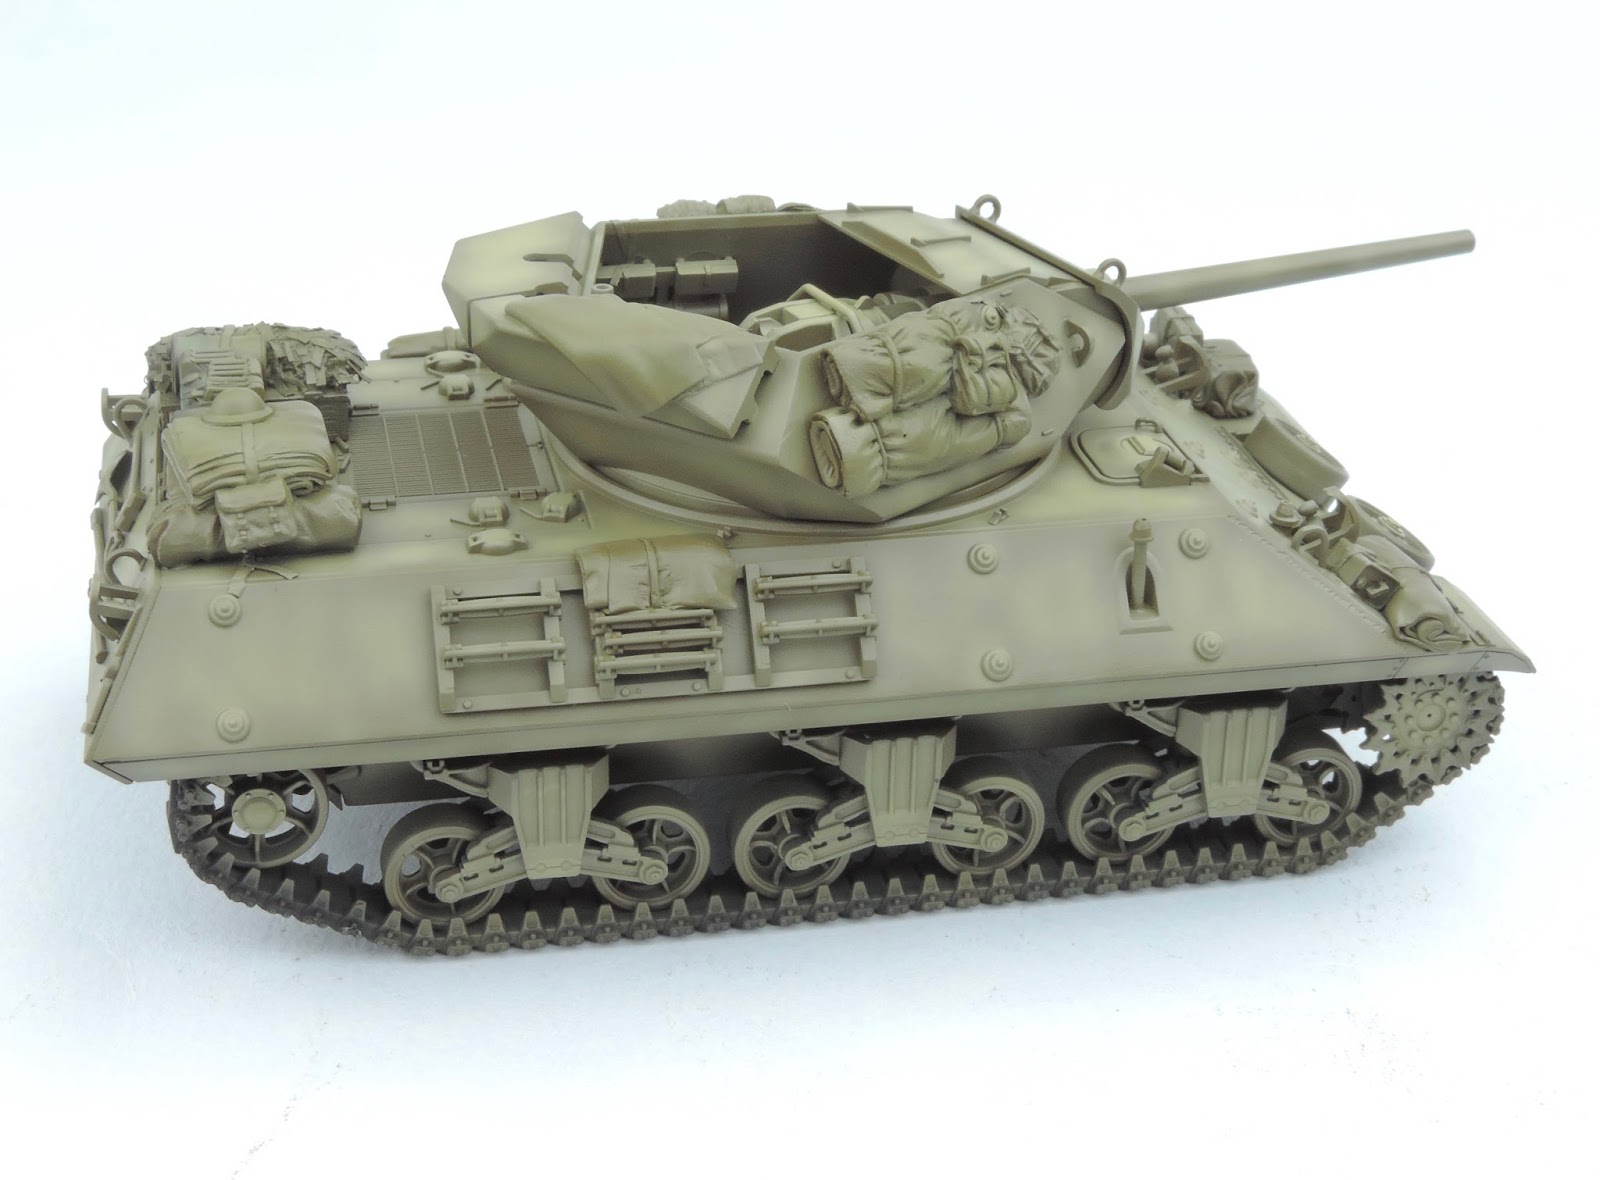
Over the last few days when I could I've been in the cave getting all the details painted on the model. I started off working on the road wheels and tracks then worked my way around the model painting all the tools & packs. I used various vallejo colours for this and tried to vary the tones as well to get some contrast between them.
I'm now very close to finishing that phase of the build with just the ready rounds for the turret to paint up as well as the .50 cal & gun sight. Even with a lot of stowage to paint in 1/48th progress is swift due to the smaller size of the model and accessories.
With a small window of opportunity I managed to get the main colour on the model last night. I used my favourite colour Gunze H52 olive drab No 1 and Tamiya flat flesh to add highlights. Next will be quite a few sessions of detail painting to get the tracks & stowage all done before decals.
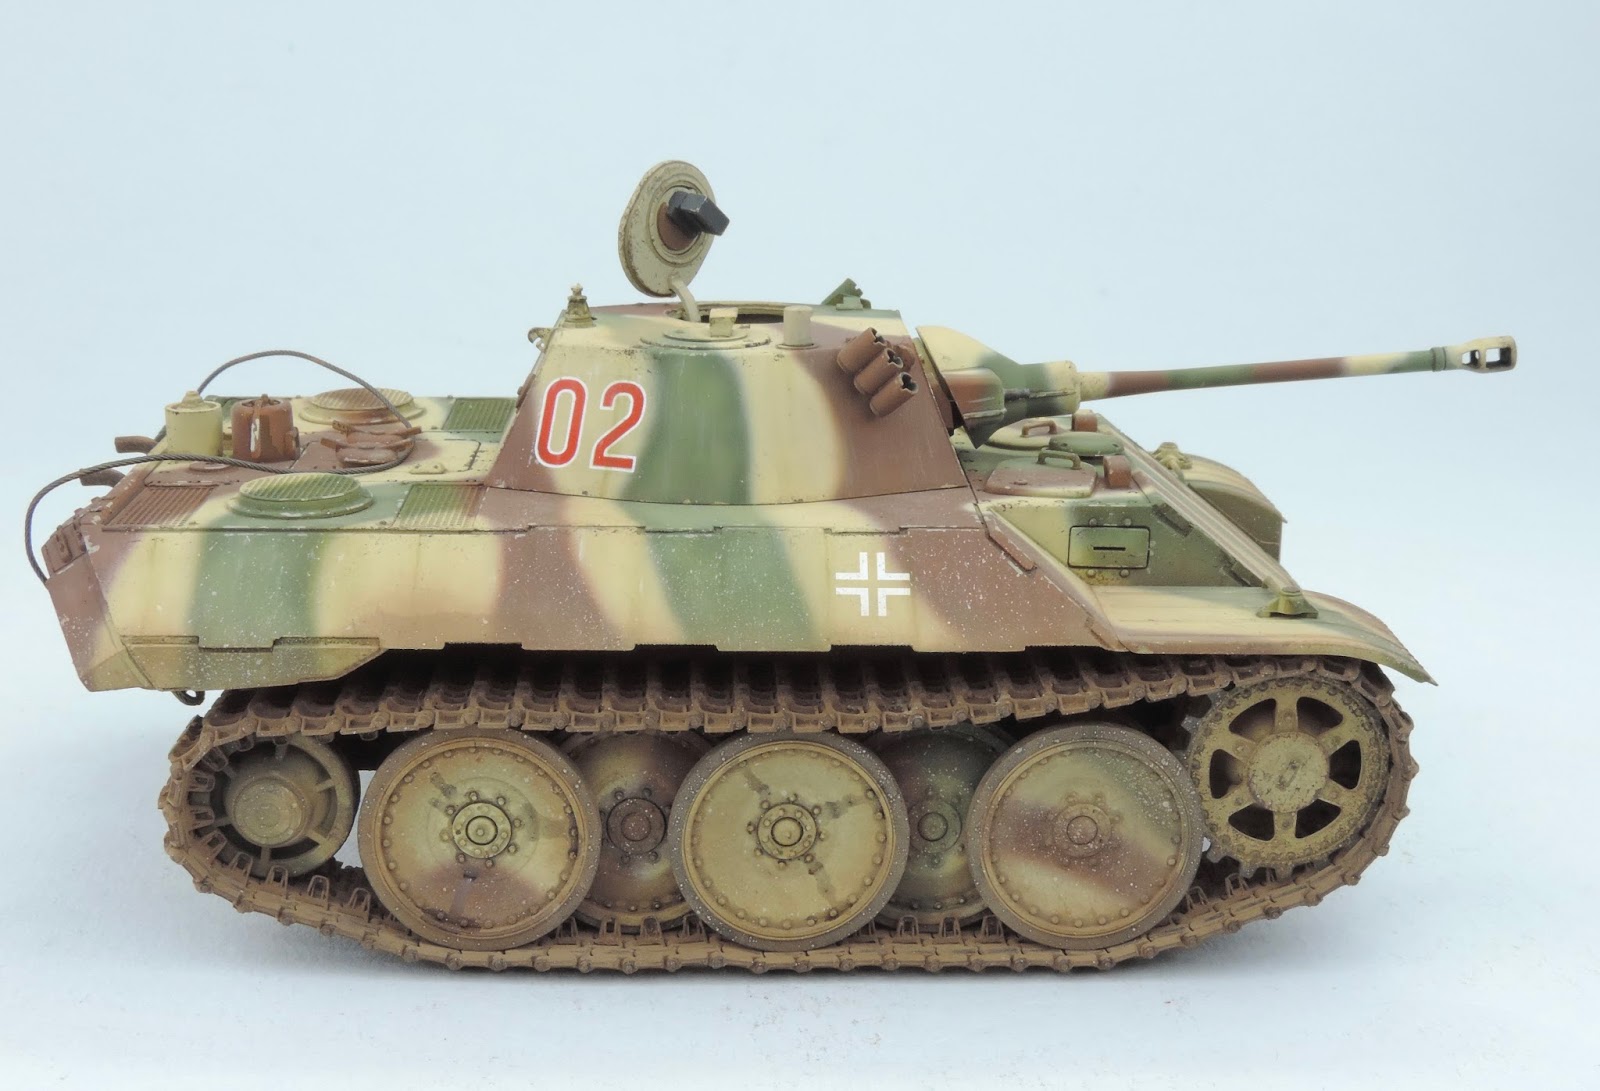
Here's the leopard all finished & on a small base. It's been another enjoyable and relatively simple project which brings this years total of completed models to 12. Enjoy!
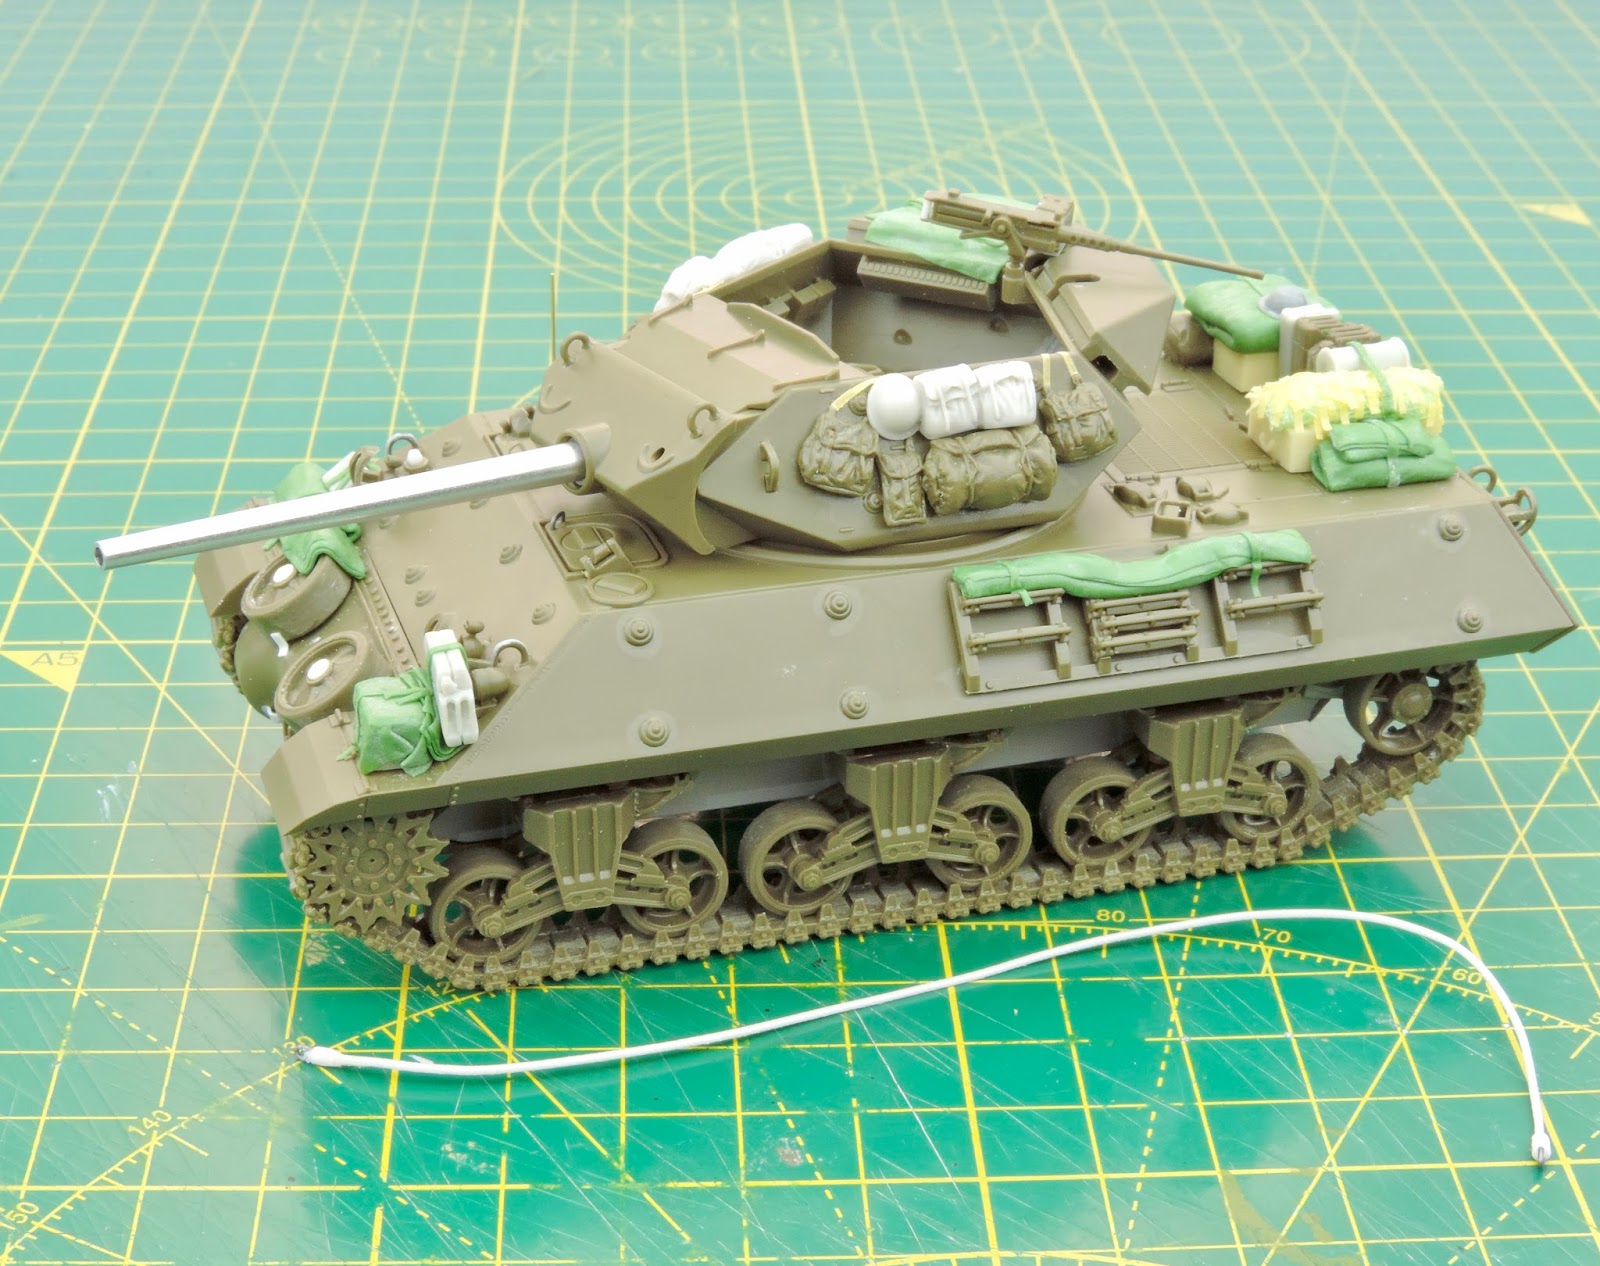
Here's the M10 with a coat of primer & black on the running gear. As you can see the details have really popped with the primer on. I'm looking forward to painting & weathering this one.
Back on this one now and I've started the mud and grime using various pigments. a bit of mud splatter as well using pigments mixed with water & flicked over the model using a stiff brush. I'll add a little bit more and get on with a small base to finish it off.
Today I've blocked in the main colours on the figures using vallejo. I went for a pale pinkish red for the tunic and a light blue on the trousers. This should help later when the oils go on to show highlights under the darker colours. I used a dark chocolate colour on the Zulu which again is basically one of the highlight colours. The gun, shield & spear have had the undercoat colours painted on for the wood and metalwork. These need to dry thoroughly before I start with the oils.
The figures have now had any flaws dealt with and the soldier has had a blast of white in preparation for blocking in the base colours which I should start doing tomorrow.
I've now sorted out the stowage for the model & also altered the antenna to match my refs for a British vehicle. I used some green stuff putty to sculpt different shaped tarps and rolls then used a bit of gauze and added tape for a rolled up camo net.
Not sure what to do regarding figures for this. I do have some tamiya ones but they look too small so may use a set by dog tag which should work better.