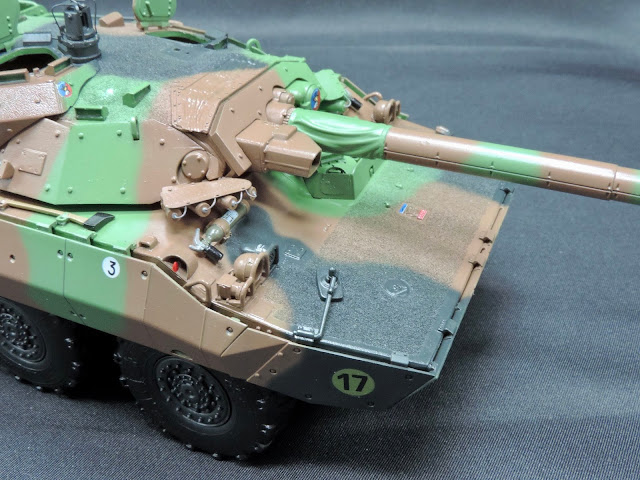
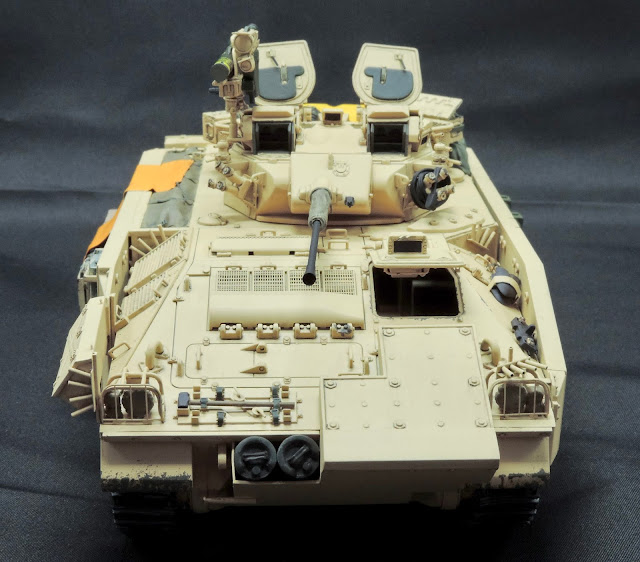
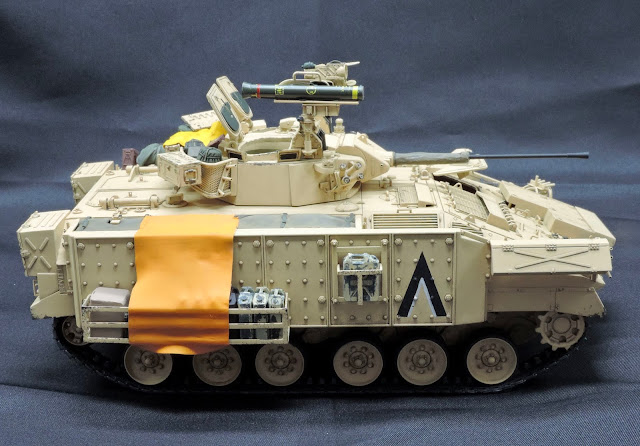
The model has now had the details painted followed by a gloss coat & decals. Very pleased with how it now looks as well.
Sunday, 31 May 2020
Thursday, 28 May 2020
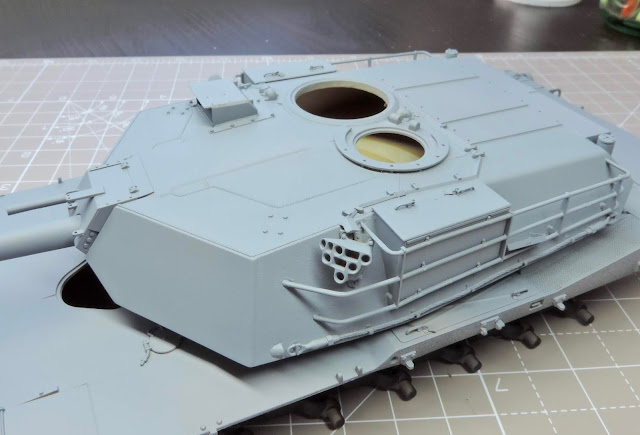
Panda Models M1 Abrams In Primer
An early morning spray session today finally saw me getting the primer on the model. As it's been very warm with smashing weather here lately I've taken to working in the mornings and evenings as paint seems to dry out far too quickly for my liking. Can't complain mind you as that leaves me free to relax in the garden the rest of the day!
Tuesday, 26 May 2020
AMX-10 Colour On
This morning whilst it was still reasonably cool here I decided to get the camo colours on. I started by using the hataka vert fonce IR, bright green to me and thinned this slightly with humbrol acrylic thinners. This worked rather well and the paint sprayed on beautifully. The shade of green is spot on for the real colour which is very vivid.
Next I tried the hataka brown but I found this too dark so instead gunze H310 brown was used with a few drops of tamiya XF-68 NATO brown added. This produced a nice bright colour which I was happy with. The black was just straight tamiya XF-69 NATO black. Im very happy with the colours and the pattern is very pleasing to the eye. A little bit of touching up is all that's needed now to finish off the painting.
Next I tried the hataka brown but I found this too dark so instead gunze H310 brown was used with a few drops of tamiya XF-68 NATO brown added. This produced a nice bright colour which I was happy with. The black was just straight tamiya XF-69 NATO black. Im very happy with the colours and the pattern is very pleasing to the eye. A little bit of touching up is all that's needed now to finish off the painting.
AMX-10 In Primer
Over the weekend the model received a careful wash using warm soapy water to remove any oils and other contaminants then once dry the primer went on. Black for the lower hull & wheels then grey for the rest of it. As you can see the primer has really highlighted the anti slip texture which looks great.
Saturday, 23 May 2020
AMX-10 RCR Ready For Primer & Paint
The model is all built up now and ready for priming & paintwork. A few more improvements were added to the turret most notably to the commander's independent sight. I just love the size of this thing, such a beast for a recon vehicle. It certainly packs a punch!
Friday, 22 May 2020
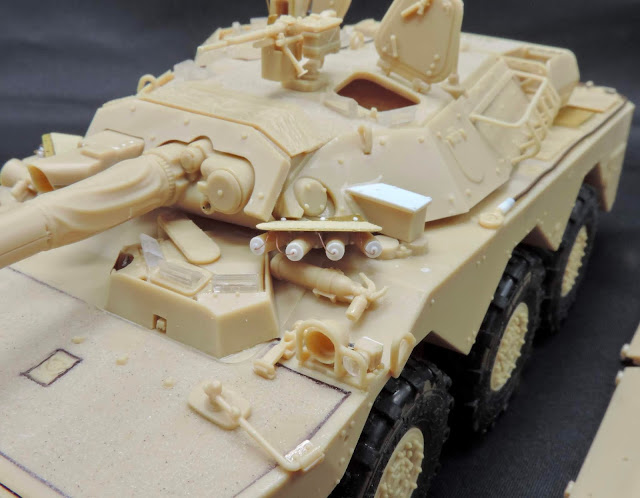
AMX-10 Turret Work
I've now moved on the turret and have progressed nicely over the last couple of days. I started by adding the rear basket then using VMS hull tex added the anti slip to the roof of the turret. Everything fitted pretty well with only some minor adjustments and trimming needed to get the armour panels lining up properly.
The commander's independent sight is quite good and only needs a few small improvements. It features a etched guard assembly, which I've not added yet, but you do get a handy little forming tool in the kit so you can bend the delicate part to the correct shape. The smoke dischargers need a little bit of work and here I cut off the end caps and replaced with punched plastic card for better detail. The anti slip on the etched cover on these was added using Ammo by Mig anti slip paste as the hull tex will not adhere to the etch.
The commander's independent sight is quite good and only needs a few small improvements. It features a etched guard assembly, which I've not added yet, but you do get a handy little forming tool in the kit so you can bend the delicate part to the correct shape. The smoke dischargers need a little bit of work and here I cut off the end caps and replaced with punched plastic card for better detail. The anti slip on the etched cover on these was added using Ammo by Mig anti slip paste as the hull tex will not adhere to the etch.
Thursday, 21 May 2020
AMX 10 More Progress
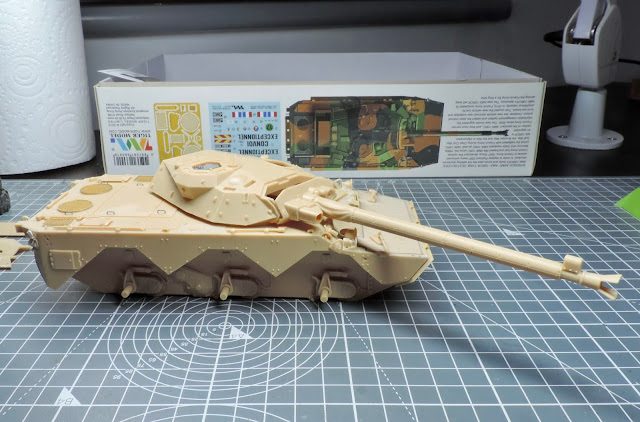
Almost finished the hull now with just the tow rope to add. As you can see I've improved the end pieces with some plastic tube and drilled them out to accept the wire. I will replace the kit supplied wire as it's very springy with some softer more malleable copper stuff. I've also added some wiring to the light clusters using lead wire.
I also had a test fit of the massive 105mm gun barrel and it really looks very cool. Especially on this relatively small vehicle, the overhang is massive!
I also had a test fit of the massive 105mm gun barrel and it really looks very cool. Especially on this relatively small vehicle, the overhang is massive!
Tuesday, 19 May 2020
AMX 10 On It's Wheels
The model has now had the suspension glued in place and the wheels pushed on. You can see how squat and bulky it looks and with the basic turret in place it looks pretty cool.
Saturday, 16 May 2020
AMX 10 Having Fun
I'm really enjoying building this kit and have had a good day adding some missing details. First up I used VMS hull tex to add the missing anti slip to the hull. This stuff is dead easy to use, you just brush on the glue in an even layer then squeeze the texture bottle over it. After a minute or so you just lightly brush off the excess texture and you have a perfect panel of anti slip.
The rear section has had more welds added and the exhaust re-worked to show a running engine. New handles on the engine deck also went on replacing the solid ones molded in the kit. The tyres are rubber so a light sanding on the tread faces removed a slight seam. On the hubs they look perfectly acceptable so I won't be wasting my money on resin replacements.
The rear section has had more welds added and the exhaust re-worked to show a running engine. New handles on the engine deck also went on replacing the solid ones molded in the kit. The tyres are rubber so a light sanding on the tread faces removed a slight seam. On the hubs they look perfectly acceptable so I won't be wasting my money on resin replacements.
Next Project, Tiger Model AMX-10RCR
Time for another model on the bench and this time I've selected the tiger model 1/35th French AMX-10RCR. I've got some nice Djiti figures for it and some Hataka paints to try as well. Looks to be a straight forward build with just some weld beads and anti slip texture to add, I'm sure I'll find other areas that need some improvement during the build though!
Friday, 15 May 2020
Warrior After Matt Coat
Here it is after a good spraying of VMS matt varnish. I'll leave it another day or so before painting all the glazing and lights as well as sorting out the glazing for the turret optics. Still a long way to go but it's coming together very well.
Subscribe to:
Comments (Atom)

