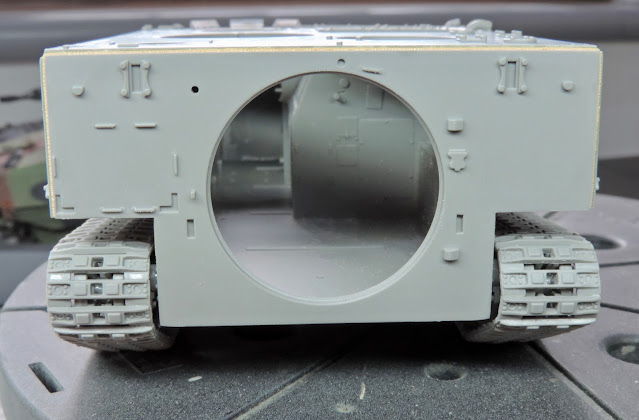
Next on the bench is the superb CSM Minerva armoured car. This is my build for the upcoming plastic & steel model show in Belgium in October. As you know I always like to try and build something used by the Belgian armed forces when we attend the show and this is a perfect choice. Not too complicated and something different from my normal builds and it's a CSM kit so it should look superb once finished.
Monday, 25 July 2022
M114 Camo Woes
I've been having some issues with the camo on the model, namely I was just not happy with the colours and the amount of coats I was applying to get a decent colour saturation. So after looking at it, researching and asking the MASSTER guru that is Brian I decided to strip the paint and start again.
VMS clear slate as ever does the business here and now I've got a bare plastic model again. A slight delay now while I wait for more suitable paint to arrive, I'm determined to crack it second time around!
Saturday, 23 July 2022
RFM Puma Finished
The Puma is now finally finished and on it's base. A quick bit of painting for the base followed by a light dusting of the model with tamiya XF 57 buff and XF 55 deck tan added just enough dust to the lower hull. This has been a long build mostly due to other things getting in the way. But it's been great fun and the Puma is such a cool looking vehicle as well.
Tuesday, 19 July 2022
RFM Puma Base Work
Not much painting going on at the moment due to the high temperatures here in the UK and in the cave. It's particularly annoying as I'm really into the painting of the M114 but the acrylics are drying far too quickly even with some retarder added.
However I have managed to get the groundwork done for the puma and gave it a quick blast of black paint. With the heat due to drop hopefully I can get the base finished during the weekend.
Sunday, 17 July 2022
Takom M114 MASSTER Camo
Work now begins on adding the MASSTER pattern to the model. The first colour I'm using is a very thin initial coat of vallejo 301 light rust. I will probably add a drop or two of brown to the next few coats just to tone it down slightly.
MASSTER is an interesting pattern as although there were manuals and diagrams showing the pattern on almost every vehicle used at the time there is a lot of variation in the application and layout of the pattern between vehicles. Probably due to this being applied at unit level and not in a central facility. Basically G.I's with paintbrushes!
Friday, 15 July 2022
M114 Base Colour & Puma Base Building
The M114 has now had the base colour sprayed on over a nice coat of primer. I decided on hobby color H313 with a splash of white which looks about right to me. The tracks and wheels were sprayed with black primer then olive drab for the wheels and sprockets. The rest of the MASSTER pattern will be hand painted with a brush and vallejo colours.
The puma base also got some attention in the form of some foam board inserts and sides for the picture frame. I can now get some groundwork sorted.
Monday, 11 July 2022
M114 & Valkyrie Figures
The model is now broken down into its sub assemblies and is ready for a soapy wash before primer. Figures for the model have also arrived and here I've gone for some superb Valkyrie ones with the correct crew helmets. I'll probably use two of them on this build and save the last one for another project.
Friday, 8 July 2022
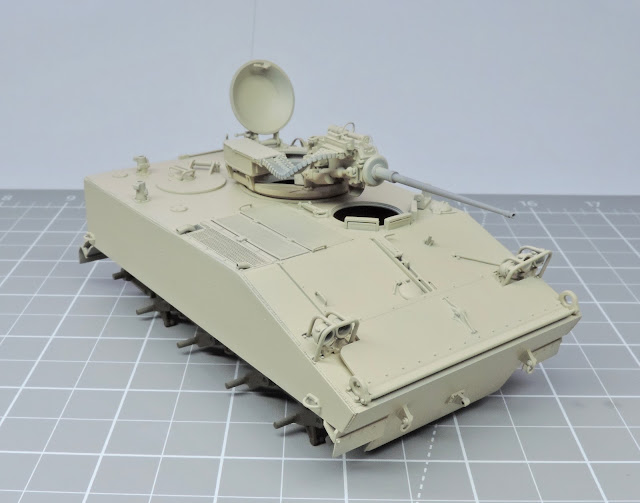
M114 Construction Complete
The final parts have now been added and it's all ready for paint. The flexible ammo chute did need trimming down as it's way too long and it will take CA or glue so no issues adjusting it. Finally the M60 machine gun was built up and I must say it's a cracker.
I've really enjoyed building this, the quality of the parts and details are first class. Takom just needs to make their instruction sheets bigger! They are just way too small for my old eyes and even with optivisors you can miss things very easily.
Thursday, 7 July 2022
M114 adding Details & Gun Mounting
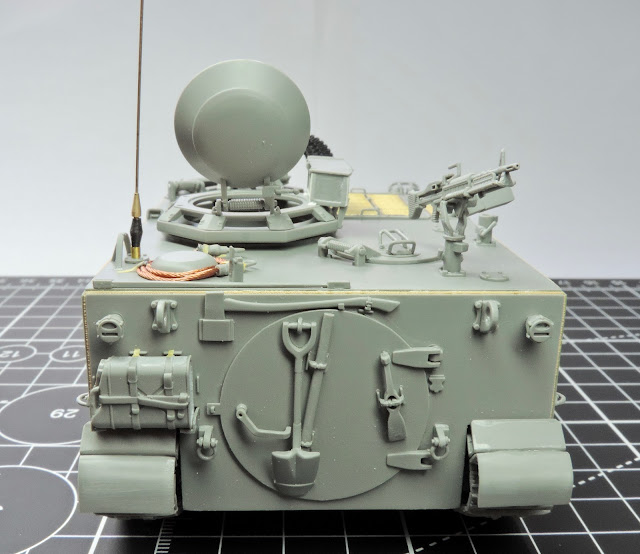
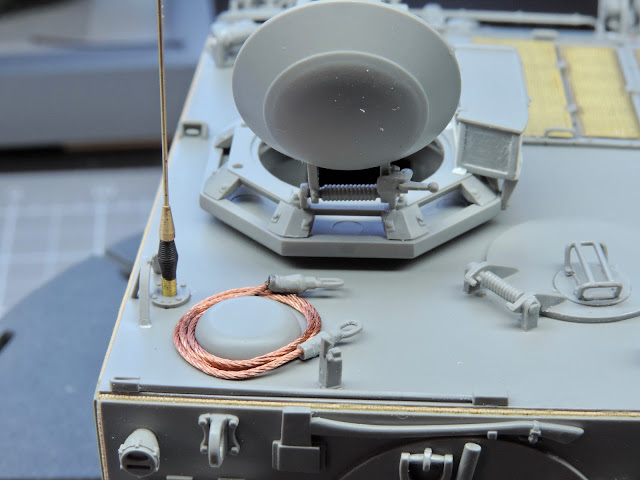
Going great guns on this now with all of the details added to the hull starting with some cables for the lights and the tow rope and antenna sorted out. The etched screens fitted perfectly and look very smart as well. Moving onto the gun assembly some extra detail has been added here & there and the whole assembly is now glued to the upper section of the cupola.
The barrel does need some care with cleaning it up as it's very delicate. The ammo box was also detailed slightly and again fixed to the upper section, J2. A few more bits need to be added now including some straps for the tow rope and the flexible ammo shoot.
Wednesday, 6 July 2022
M114 Taking Shape
A small update today as I've been doing yet more DIY! I've started adding some missing bolt heads and a couple of refinements to the model as well as fitting the swim vane which by the way is movable at present. The engine hatch is also in place. Not much more to add to the hull now.
Monday, 4 July 2022
M114 More Progress
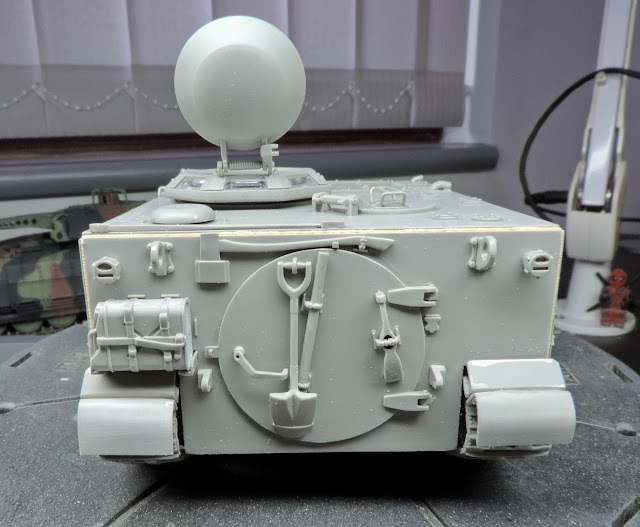
I'm now adding all the detail parts to the model starting as I usually do at the rear. Here the mud flaps need thinning down slightly, an easy enough task with the help of files. I also shaped them to a more realistic appearance. The front flaps also need thinning down as well. The commander's cupola features a large clear part for the scopes which I'm hoping can been added after painting. As the parts here fit pretty good it shouldn't be a problem. I'm really enjoying this tiny model, the details are excellent and the fit is near perfect.
Sunday, 3 July 2022
Takom M114 Adding Details & Tracks
The hull top and front panel are now fixed in place, a little bit of careful fitting and sanding ensures a nice smooth joint. Following that I used stretched sprue to add the missing weld beads to the hull. This will get toned down later with a swipe of mr surfacer. The drivers scopes and exhausts went on next and in my haste to get the roof parts on I forgot to add them. That will teach me to study the instructions more carefully!
The tracks where next and as usual Takom provide jigs to assemble them correctly. Taking note of the position of each part I glued these using tamiya extra thin quick type. Once dry they went on the model followed by the road wheels which were glued to the tracks only. The tracks are quite fragile so doing it this way ensures a much stronger assembly. The whole thing can then be removed from the suspension arms for easier painting too.


